Thank you for the encouraging words Stephen and Dave

Heres a small update.
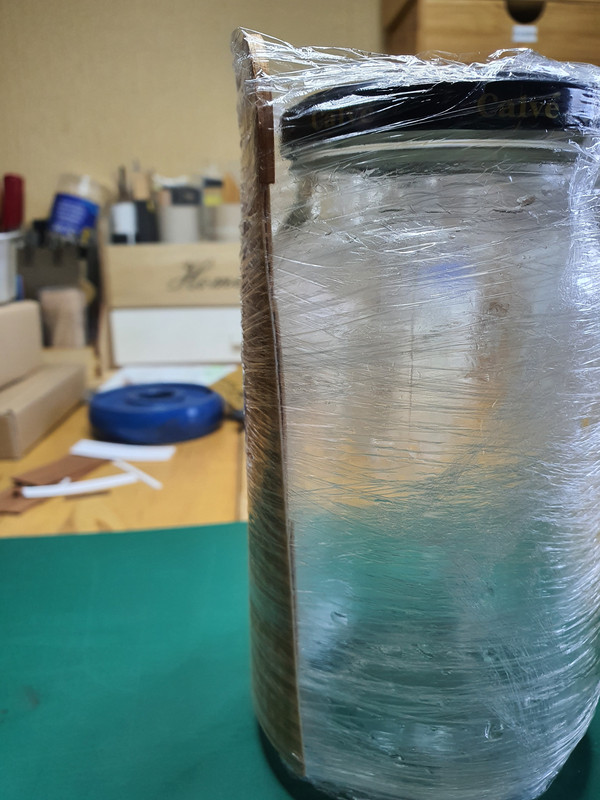
I thought the warped cockpit floor would be an easy fix, but it wasnt. I tried steaming, bending, heating, soaking, wetting and cling-wrapping it to a glass jar, but every next attempt turned out worse than the previous. It is now propeller-shaped with a build-in sinus wave.
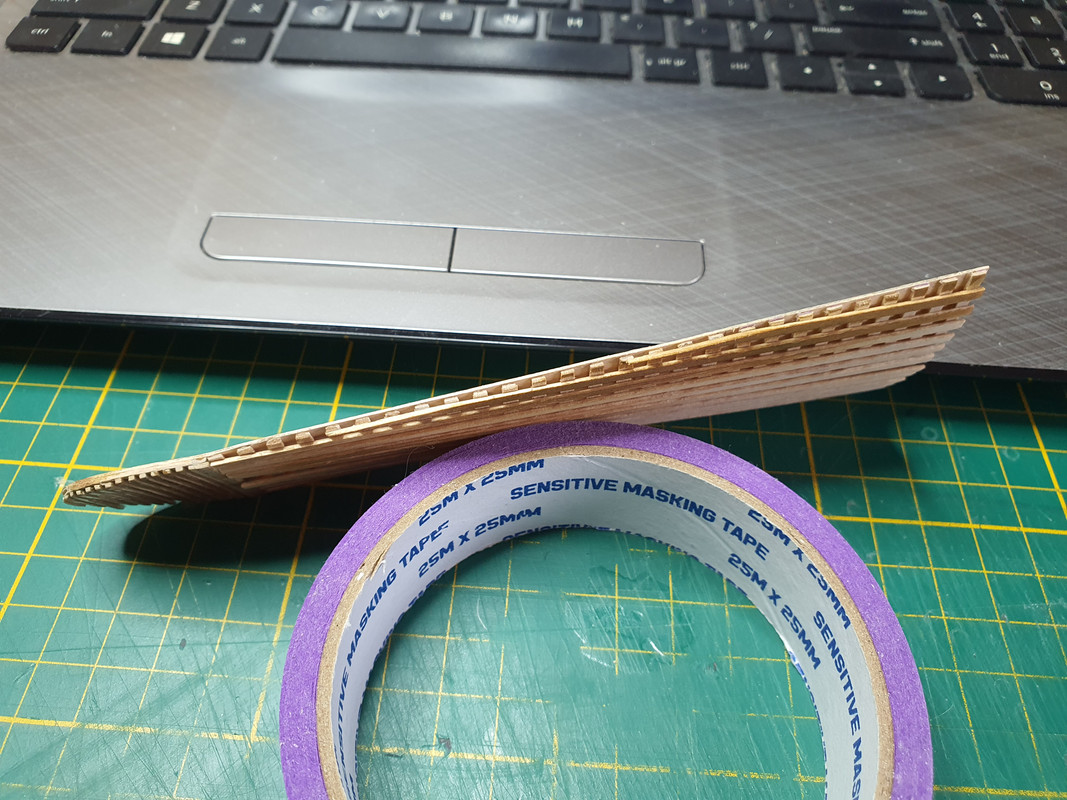
So, I made a second version, only this time I used thick CA glue.
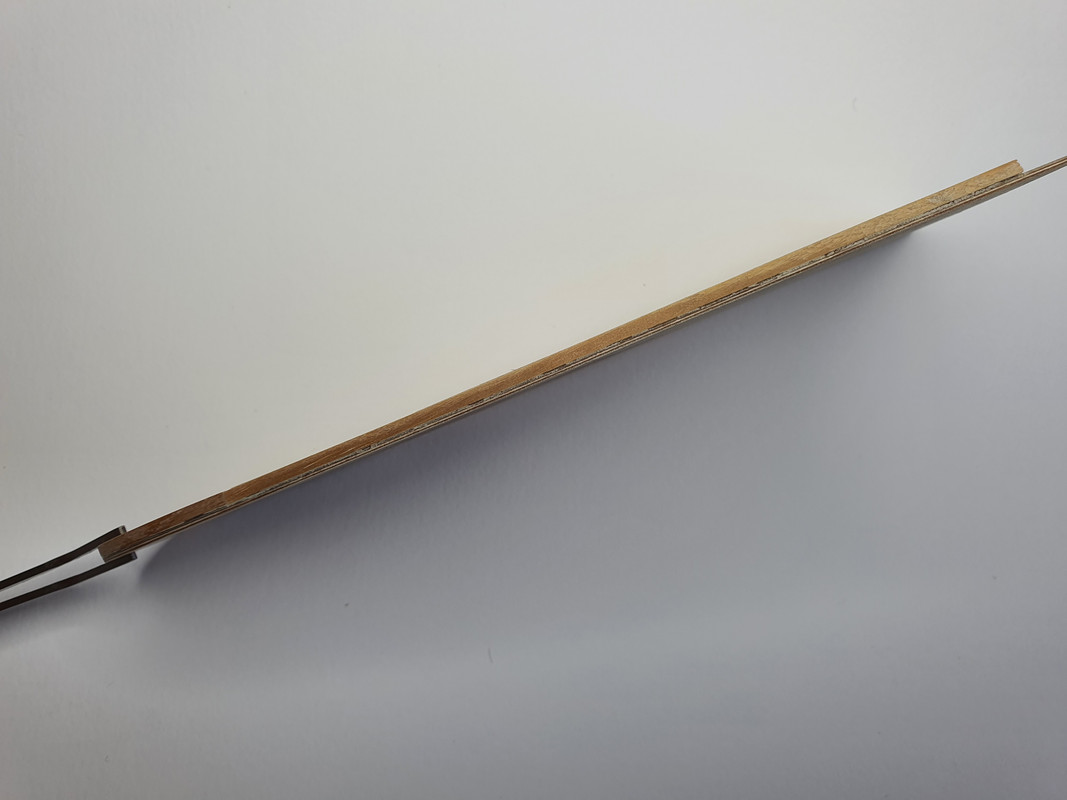
Because this glue dries faster than PVA, and I didnt have to wait so long before applying the next layer, it took less time to make. This one is as straight as an arrow. It has to have some colour and I had 5 coulors to choose from.
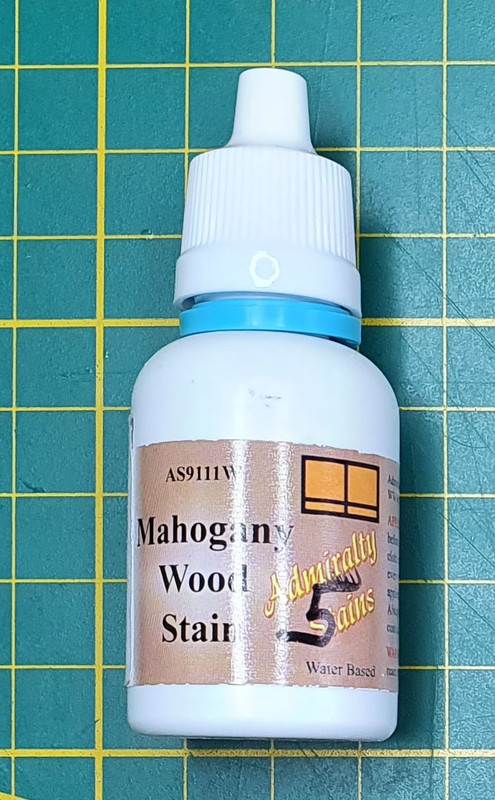
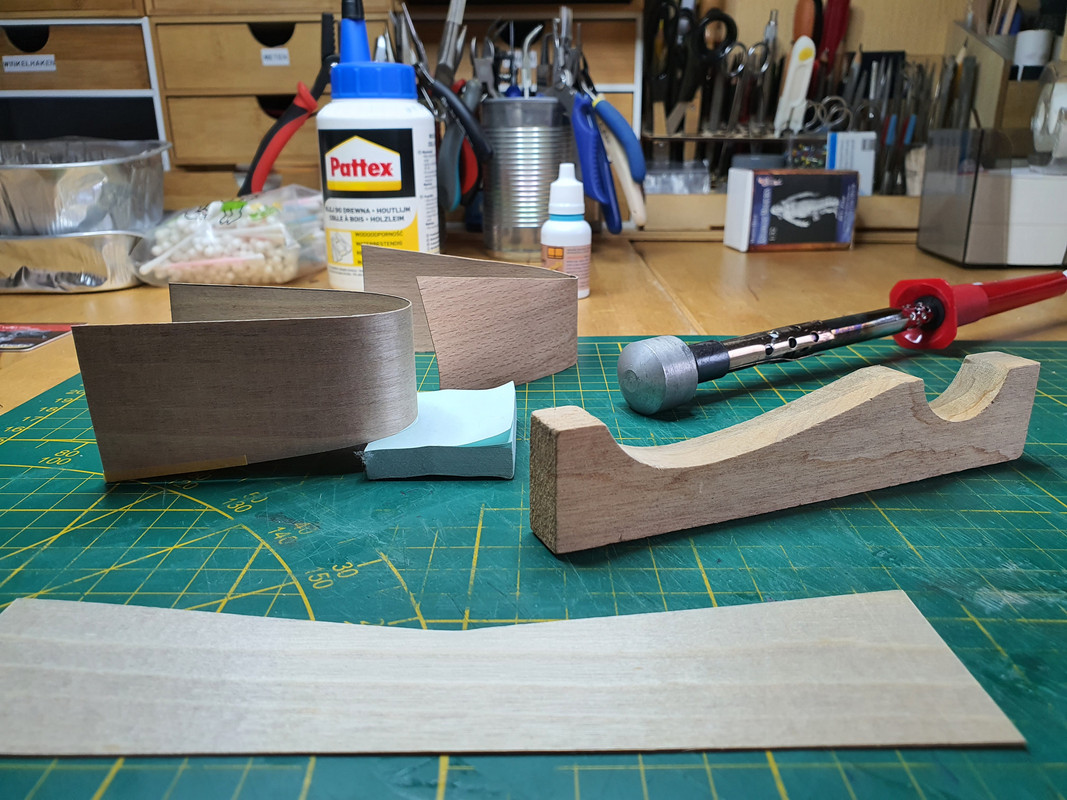
After a bit of experimenting I used Admiralty Stains Mahogany, applied with an almost dry cloth.
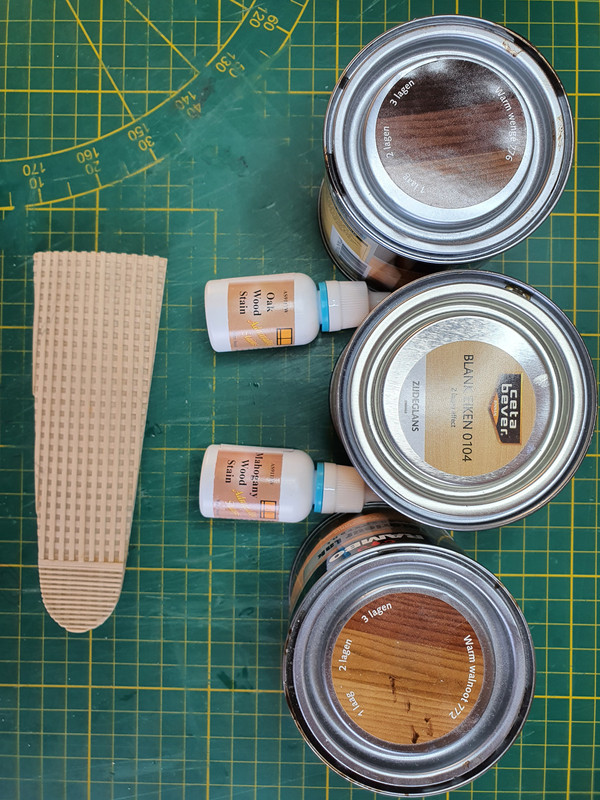
Here are the first and second attempt of the cockpit floor decking. Practice makes (almost) perfect.

I will lay it aside for now and continue with the mockup.. Yes, it is time consuming Stephen, but I soon found out it is worth the trouble
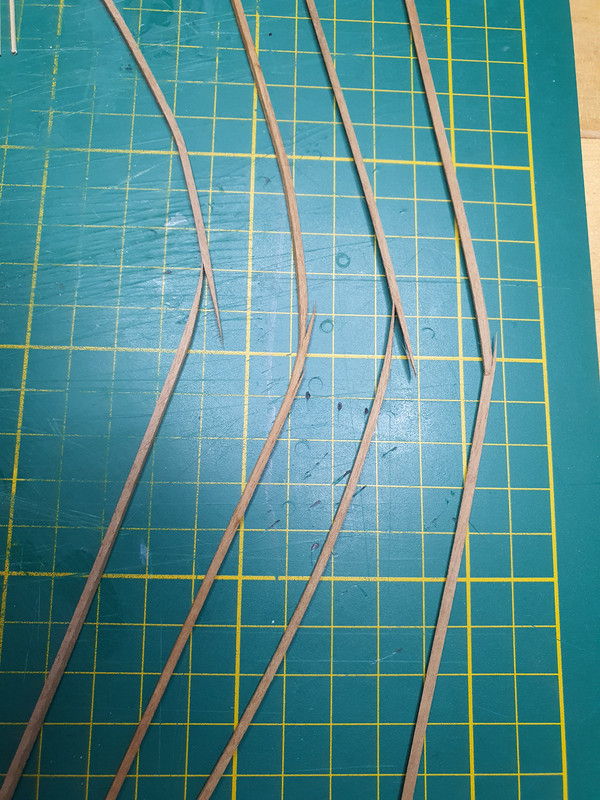
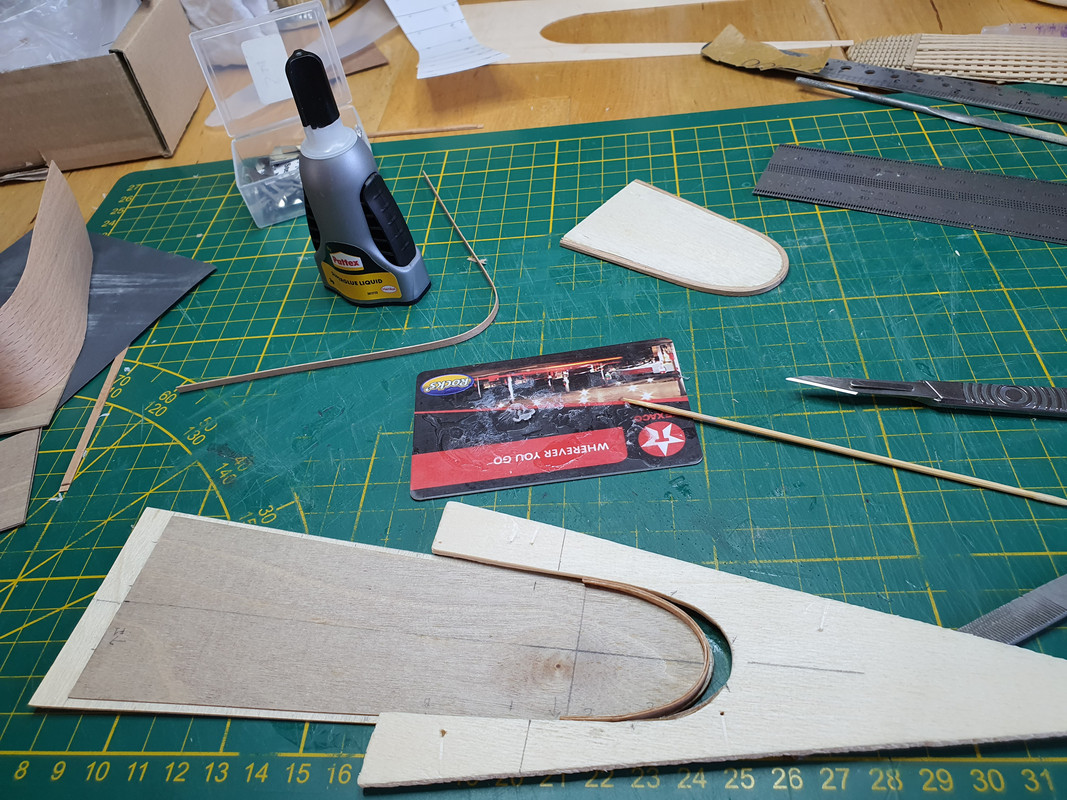
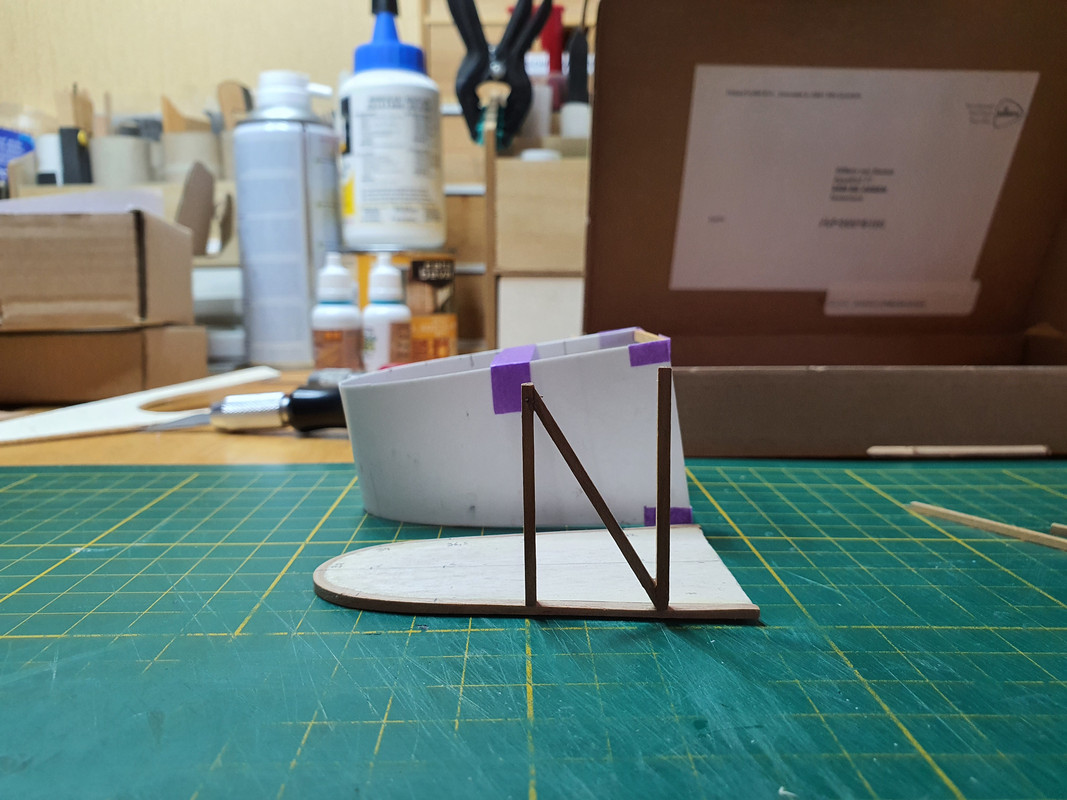
I tried to bend a 4x4 mm strip of wood into a rim, but after the sixth failed attempt I decided to make it from laminated strips of wood. That turned out very well. I glued it to a piece of ply that represents the forward section of the cockpit floor to have a base to start with the vertical struts.
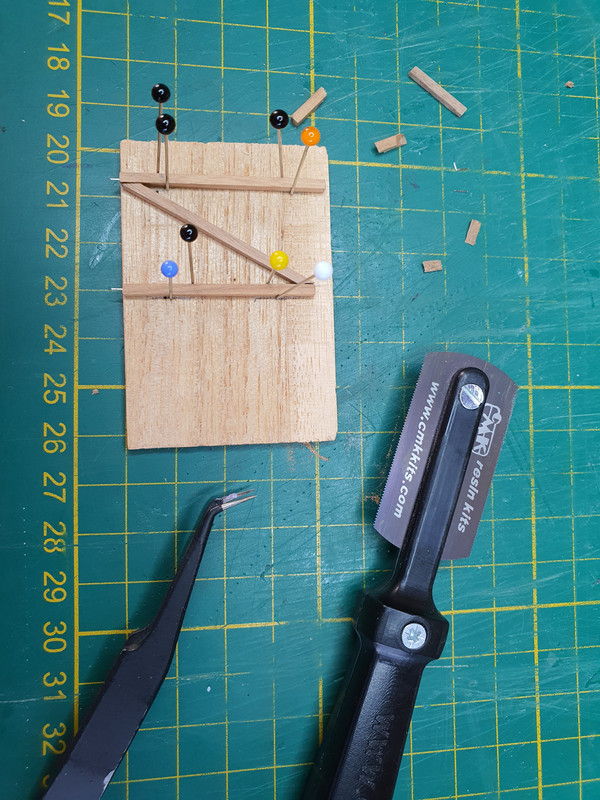
The first mistake and proof that making a mockup first was a good idea
The vertical struts should be at a 90 degree angle with the top of the cockpit, not the floor.
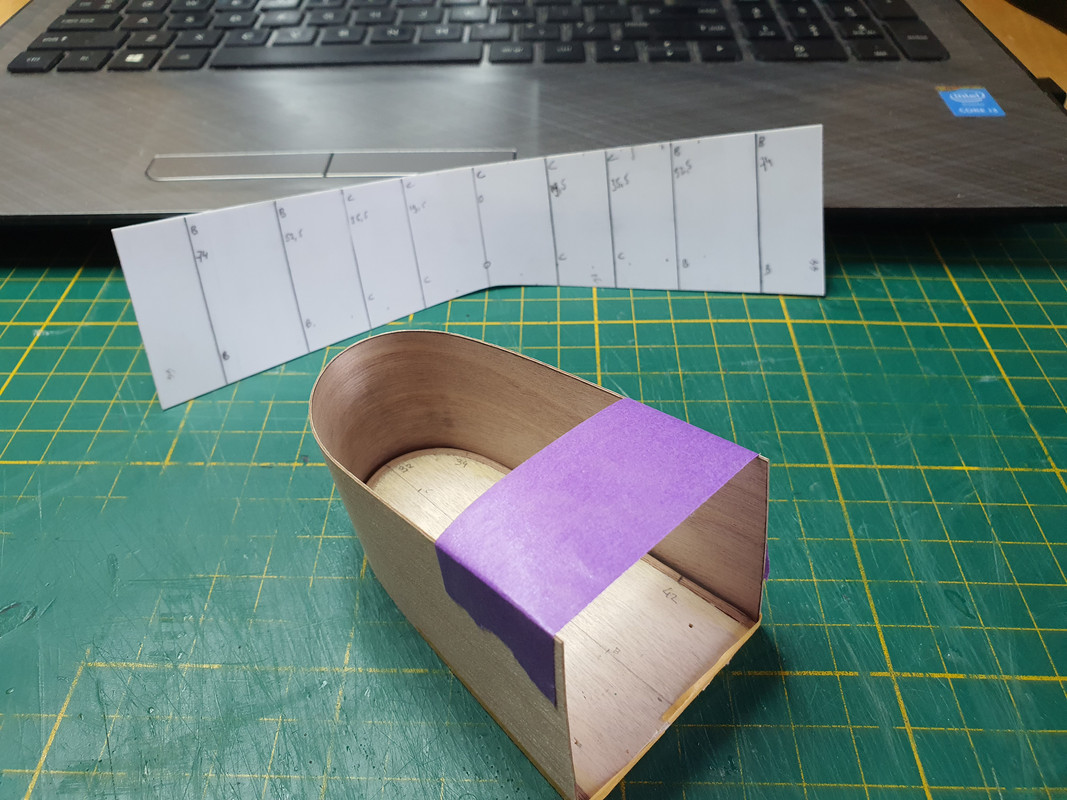
To get the cockpit sides into the right shape, I used an electric plank bender. Im not sure this will work, because it is now in one piece, instead of two halves, it makes detailing the interior harder. On the other hand, I now have a nicely rounded nose that doesnt need any fixing. Well see.
In the background is the first failed attempt. I used boiling water and a glass jar to shape it, but that didnt work. In the foreground is a spare one. You just never know.
The white styrene is the template. The markings are the positions for the vertical struts.
So, this is where I am now. I will continue with the mockup and work on the struts and the control column with the steering wheel, elevator control cable pulleys, and rudder bar. After that, the seat and the instruments.
Thanks for looking
Willem

