Author Topic: The Gordon Bennett Air Race 1911 Part 4: Wright R Baby  (Read 1756 times)

Offline lone modeller

  • Hero Member
  • *****
  • Posts: 5348
The Gordon Bennett Air Race 1911 Part 4: Wright R Baby
« on: November 02, 2023, 10:36:14 AM »
Evening All

AT LAST! I am now back into my comfort zone building a model of a real aeroplane ie a pusher! It has been around 20 months since I completed one, so it is high time that I started another and got back to normal. Pushers are basically wire entanglements with an engine and undercarriage attached, which makes them simultaneously simple to make the parts for, and interesting to look at. In terms of scratch building they have few complex components and are interesting to assemble. Only the rigging presents a challenge but even that can be overcome with a systematic approach.

The 6th machine to compete in the Gordon Bennett air race in 1911 was a "Baby" Wright model R. Only two of these machines were built: the first, also  called the "Roadster" was constructed in the USA in 1910 for racing. A Ogilvy flew it in the Gordon Bennett air race held at Belmont Park in New York and then had it shipped to the UK where he flew it from his private landing ground at Camber in south Kent, and later in the GB race at Eastchurch in July 1911. A second smaller variant called the "Baby Grand" was also built by the Wright brothers for the Belmont race but it crashed and was wrecked at the end of October 1910. It was rebuilt with longer span wings and a 4 cylinder inline engine and flown for exhibition shows.

Originally the "Baby" Wright was powered by an 8 cylinder engine, but after Ogilvy brought it to the UK he replaced the engine with a 50hp NEC 4 cylinder  V two stroke engine. It was with this engine that he flew it in the 1911 Gordon Bennett race. Like most aeroplanes of this period changes were regularly made and this, combined with a lack of drawings, makes building a model a little tricky. However there are several photographs of both machines, but importantly there are sufficient photos of Olgivy's machine taken at Eastchurch to make it possible to build a reasonably accurate replica.

Photographs of the Roadster and Baby Wright can be found at: https://www.wright-brothers.org/Information_Desk/Just_the_Facts/Airplanes/Model_R.htm

and of Ogilvy's machine at Eastchurch at: https://flyingmachines.ru/Site2/Crafts/Craft28506.htm

I started as usual by cutting out the wings and tail  surfaces from 30 thou plastic card whcih had been curved by immersing the card in boiling water in a length of  pipe:


The propellors were  a strange shape so I experimented by carving one from plastic strip, and then from a scrap of wood to ensure that my method worked. Finally I cut two lengths of wood to carve the propellors for the model:


I made the tyres for the wheels by winding some 25 thou rod around the handle of a small paintbrush. The diameter of the handle was slightly smaller than the wheel disc so that the tyre will spring on to the disc. The rod was immersed in boiling water for about 10 seconds.


When the plastic has cooled it can be removed from the handle and cut to the required length:


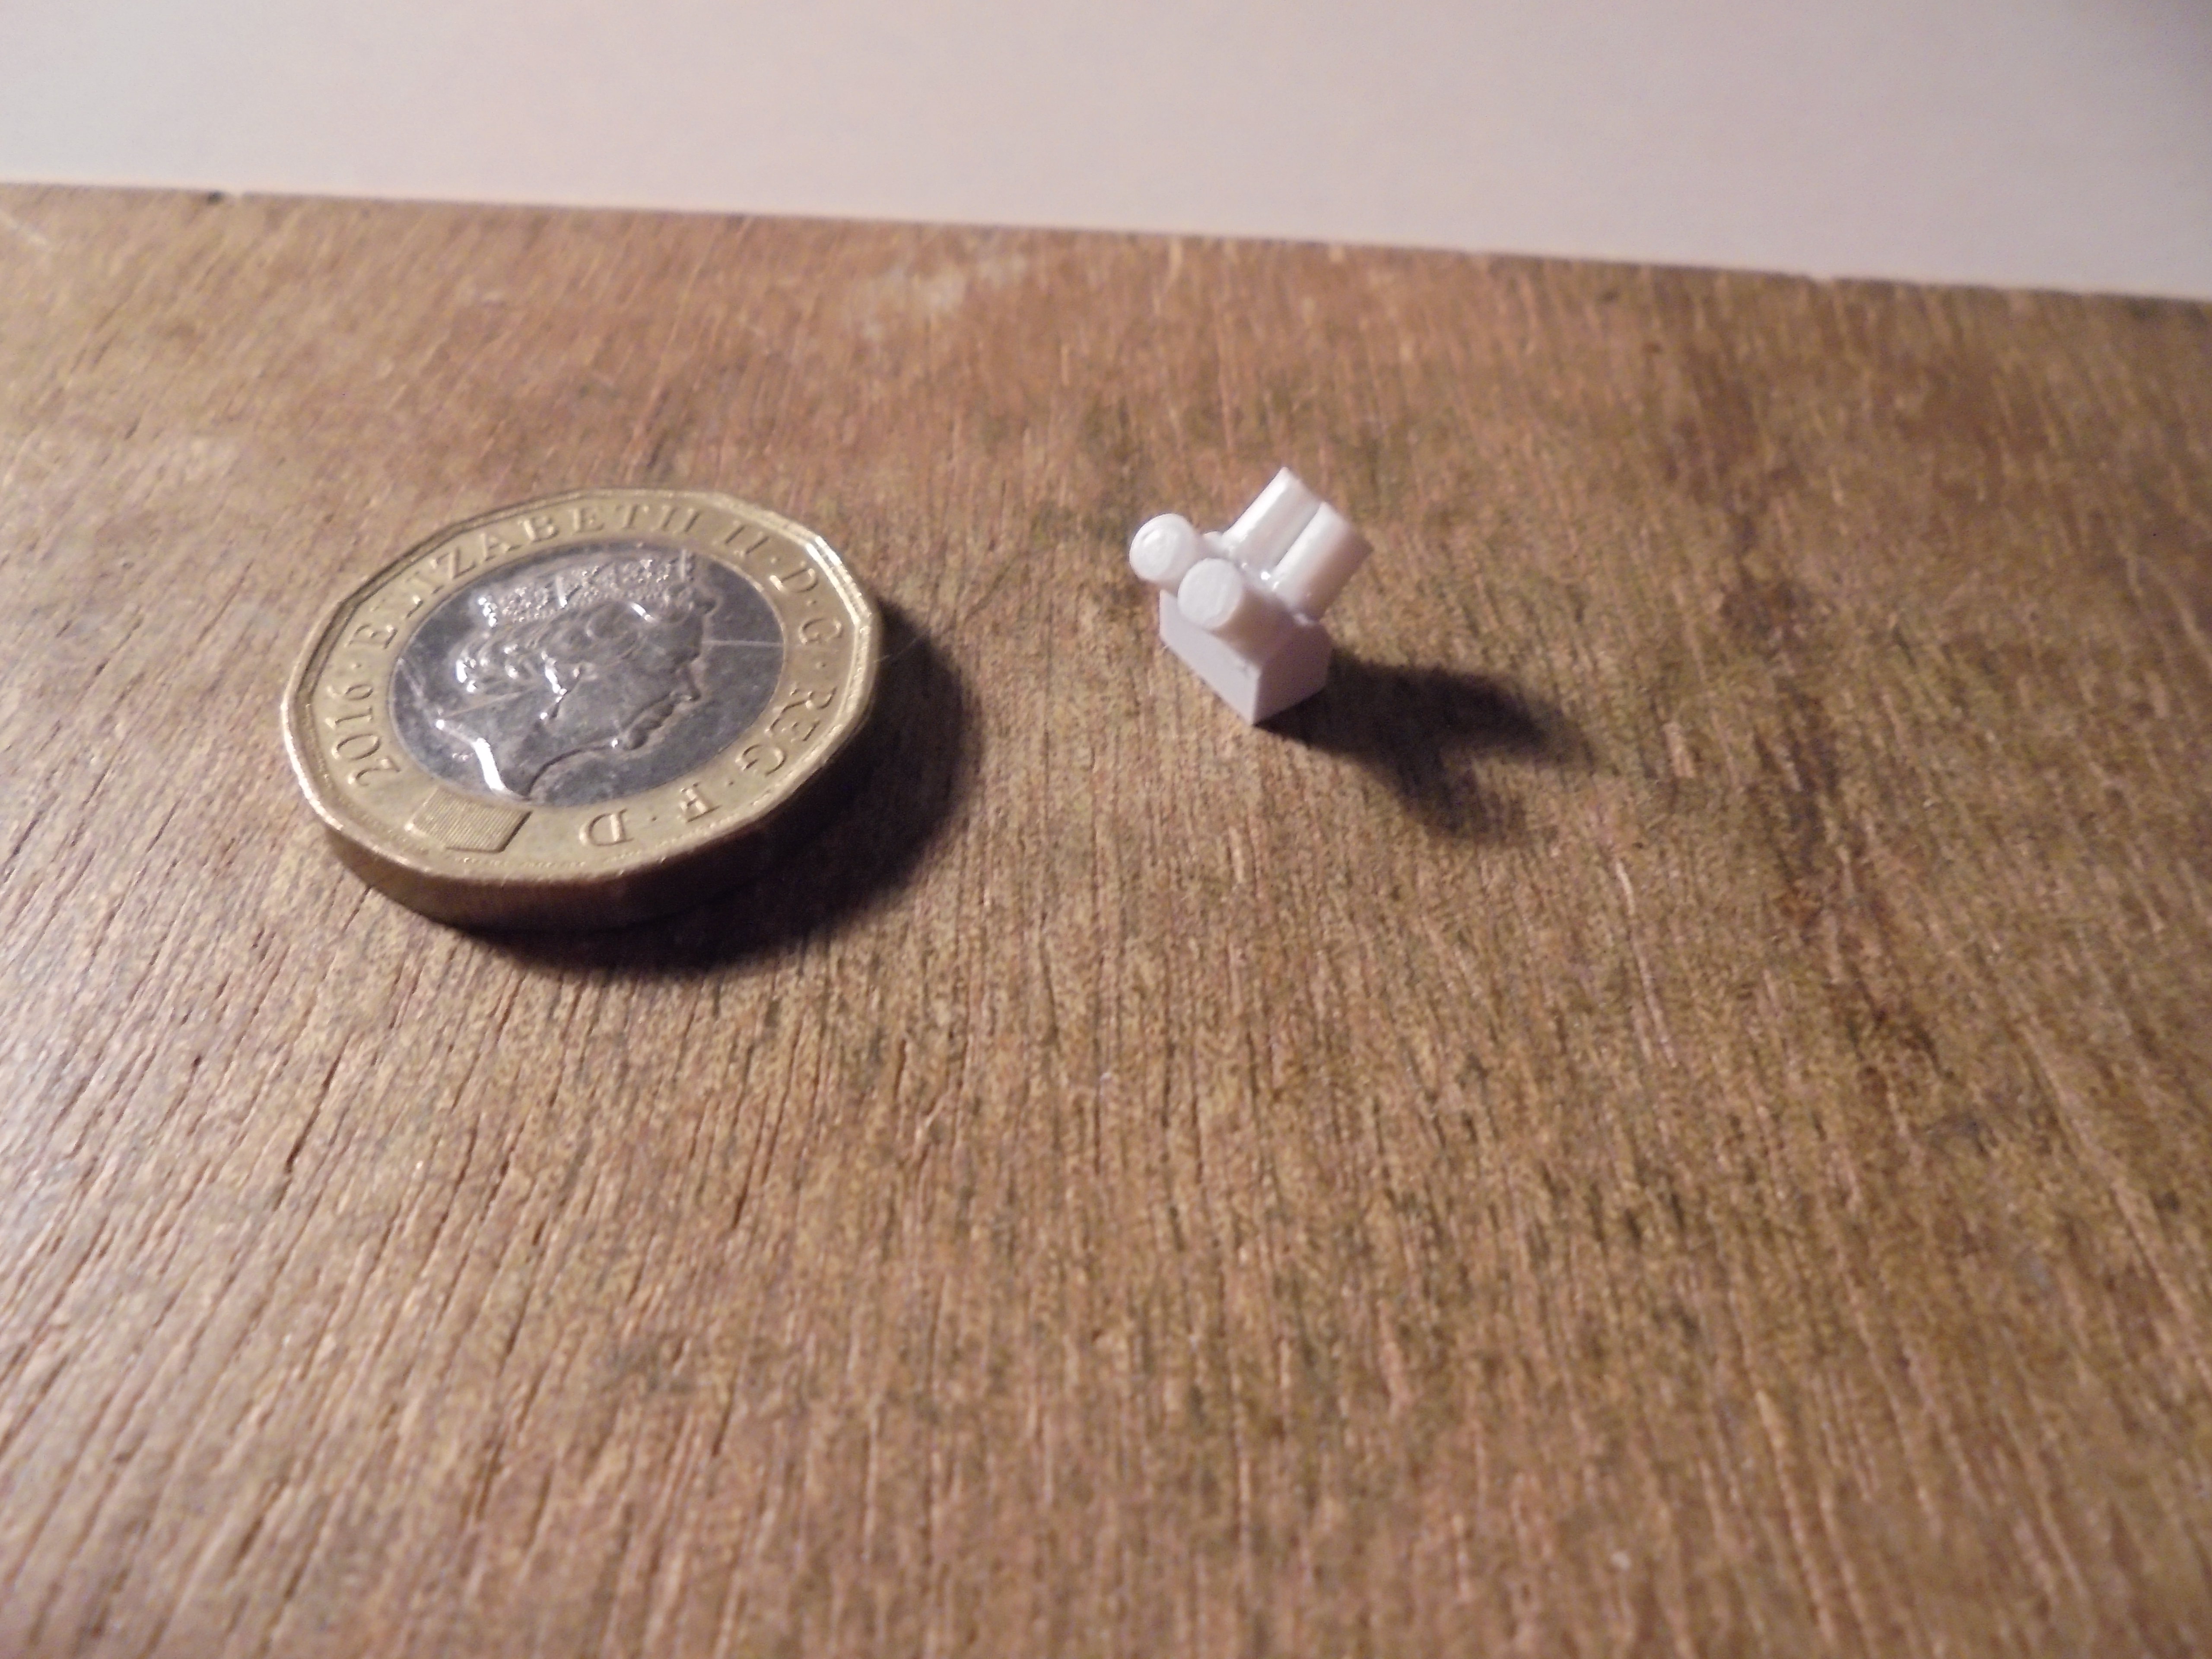
I cannot find a clear photo of an NEC engine so I am using what information I can glean from photographs and modellers license. I have made an engine block and added the cylinders as a start: more details will follow:


Thanks for looking.

Stephen.


Offline KiwiZac

  • Global Moderator
  • Hero Member
  • *****
  • Posts: 2634
    • My Linktree
Re: The Gordon Bennett Air Race 1911 Part 4: Wright R Baby
« Reply #1 on: November 02, 2023, 06:19:51 PM »
An outstanding start Stephen, I'm excited to follow along!
Zac in NZ

Offline NigelR

  • Hero Member
  • *****
  • Posts: 734
Re: The Gordon Bennett Air Race 1911 Part 4: Wright R Baby
« Reply #2 on: November 02, 2023, 07:34:33 PM »
Another interesting build. I like the way you did the tyres, very clever.

Offline kensar

  • Hero Member
  • *****
  • Posts: 2505
  • Reshaping the world - one piece at a time.
Re: The Gordon Bennett Air Race 1911 Part 4: Wright R Baby
« Reply #3 on: November 02, 2023, 09:29:10 PM »
Yes, an outstanding start, Richard.  I'll be following as usual.
The wide variation in aircraft designs at this time shows aviation was certainly in its infancy.

Offline Davos522

  • Hero Member
  • *****
  • Posts: 835
Re: The Gordon Bennett Air Race 1911 Part 4: Wright R Baby
« Reply #4 on: November 02, 2023, 09:49:29 PM »
Interesting little bird, looking forward to seeing it join the flock!

Dutch

Offline Flamingo

  • Full Member
  • ***
  • Posts: 105
Re: The Gordon Bennett Air Race 1911 Part 4: Wright R Baby
« Reply #5 on: November 02, 2023, 11:45:28 PM »
Hi Stephen,
great to see this!
Would be interested to learn more about your pipe to curve the wings and how you secure the planks to it.
How do you hold the rod around the brush, you won't immerse your fingers into boiling water?
Greetings Joachim

Offline IanB

  • Hero Member
  • *****
  • Posts: 2445
Re: The Gordon Bennett Air Race 1911 Part 4: Wright R Baby
« Reply #6 on: November 03, 2023, 05:05:33 AM »
Phew, that's a relief.
I was starting to worry about you, having not seen a pusher for a while!

Ian

Offline Rookie

  • Hero Member
  • *****
  • Posts: 927
  • No guts, no glory...
Re: The Gordon Bennett Air Race 1911 Part 4: Wright R Baby
« Reply #7 on: November 03, 2023, 08:31:15 PM »
Stephen,

You have delivered again. With 5 models completed, you are on the home stretch now with the Baby.

I am always in awe to see how much you can do with so little data. Great work!

P.s. I dove into my engines "archive" to look for the N.E.C. engine, but all I could find was a very poor photograph in Glenn Dale's Aerosphere 1939.

Offline DaveB

  • Hero Member
  • *****
  • Posts: 1029
Re: The Gordon Bennett Air Race 1911 Part 4: Wright R Baby
« Reply #8 on: November 06, 2023, 09:04:32 PM »
Glad to see you are off to a good start on this latest project, Steve -

And back to a pusher to boot!

Regards

Dave
As we say in fencing, what's the point!

Offline lone modeller

  • Hero Member
  • *****
  • Posts: 5348
Re: The Gordon Bennett Air Race 1911 Part 4: Wright R Baby
« Reply #9 on: November 07, 2023, 06:44:20 AM »
Evening All

Many thanks to you all for the kind comments - they are all appreciated.

Joachim: here is an image of the pipe that I use to curve the plastic sheet for the wings:


It is 11cm (4 1/4inch) internal diameter waste pipe which is sealed at one end. I cut a piece of Evergreen plastic card lengthwise down the middle and push it into the pipe until it reaches the bottom. I use a thick stick to hold the plastic until I have the curve that i want and then pour in boiling water. I hold the pipe at a low angle when I pour in the water - that ensures that the plastic card is properly covered. Leave it for about 10 seconds, tip out the water and allow the card to cool. It should be the correct shape for wing blanks.

To shape plastic rod I turn the rod around a paintbrush handle or piece of dowel (round shaped wood), and hold one long end with my fingers and the other short end with a pair of grips or pliers. By pulling both ends of the rod hard while the plastic is held under boiling water for 10 seconds and then under a cold tap, I avoid scalding my fingers and get a coil of plastic.

If you have any other questions please feel free to ask.

Stephen.

Offline Flamingo

  • Full Member
  • ***
  • Posts: 105
Re: The Gordon Bennett Air Race 1911 Part 4: Wright R Baby
« Reply #10 on: November 07, 2023, 07:19:08 AM »
Thank you very much for your explanations!
Surely more questions will follow.
Joachim


Offline lone modeller

  • Hero Member
  • *****
  • Posts: 5348
Re: The Gordon Bennett Air Race 1911 Part 4: Wright R Baby
« Reply #11 on: November 30, 2023, 07:49:17 AM »
Evening All

I have been away from home recently, and in addition managed to make a set of booms which were too small so I had to make a second set! This time I decided that I would make the upper and lower sections from brass bar and join the cross pieces in the middle and rear, also from bar, before I epoxied them to the wings. In the past, (and on the first attempt), I just epoxied the booms on to the wings and then soldered the cross pieces on afterwards, at the risk of melting the plastic of the wings. Much easier to make the booms separately first:


After priming these were epoxied to the wings.

The engine and radiators were attached to the lower wing and pipes joined the engine to the radiators. I cannot see the exact arrangement of the pipes from the photos that I have - they are either in shadow or in one photo which was taken from the rear, someone was standing right in front of the engine blocking the view! What is clear however is that the radiators on the day of the race were not where they had been when other earlier photos had been taken: this aircraft seems to have been in a continuous state of change.

With the engine and radiators in place it was time to put the top wing on. The outer wing struts were set on to the lower wing and while they were still moveable I put cement into holes in the upper wing and gently lowered it on to the struts. Now the tricky bit: I had to cut to length two struts to fit at the rear of the booms and CA them into place. The structure was supported by my standard mk. 1 jig of paint pots while the cement set overnight:


As shown in the photos, the structure is quite stable and strong and can be easily handled without fear of collapse or damage. It was now quite a simple process to add the remaining boom struts and the inner bay struts: I have left off the innermost pair of struts as I need space to be able to add the drive chain covers and propellor shafts:


Thanks for looking.

Stephen.

Offline Davos522

  • Hero Member
  • *****
  • Posts: 835
Re: The Gordon Bennett Air Race 1911 Part 4: Wright R Baby
« Reply #12 on: November 30, 2023, 02:43:01 PM »
Looks great, Stephen! I know I've said it before, but I'm really looking forward to seeing your whole Bennett collection gathered together when they're done. It's going to be amazing.

Dutch

Offline NigelR

  • Hero Member
  • *****
  • Posts: 734
Re: The Gordon Bennett Air Race 1911 Part 4: Wright R Baby
« Reply #13 on: November 30, 2023, 07:21:48 PM »
Very interesting and more lovely work. I agree with Dutch, this will make for a very interesting display.

Offline lone modeller

  • Hero Member
  • *****
  • Posts: 5348
Re: The Gordon Bennett Air Race 1911 Part 4: Wright R Baby
« Reply #14 on: December 07, 2023, 02:08:01 AM »
Evening All,

Thanks Dutch and Nigel for your support - I really appreciate it.

I find that once I have the spare wing(s) on my models, the rest of the build frequently goes much more quickly and this one was not an exception. First parts to go on were the propellor shafts and their supporting struts, followed by the chain drives. These had to be inserted before the inner interplane struts because they would not have been accessible otherwise:


(NB the tweezers are the pair that my father gave me 60 years ago - I use them all for the time!)

The innermost interplane struts followed, and the the main undercarriage legs. The latter was made from 20 x 30 thou strip cut to size - it was not filed to aerofoil section as contemporary photos show that the sections were square. The skids were curved by running the plastic strip between the edge of a knife blade and my thumb. The axles were wire cut from a paperclip:


The tail skids were also made from strip and CA'd to the rear. Rigging of the wings and boom followed, then the fins on the undercarriage and struts. The elevator was added and rigged almost at the end to save me knocking it off when handling the model. Finally the undercarriage was rigged and the wheels added. Final details included the propellors, what I think is an early form of pitot tube to the left of the pilot, and a gauge on the pilot's platform and cable from the engine from stretched sprue.


More pictures will be posted in the completed models section shortly. Dutch: I will also post a piece showing all 6 models as part of a small diorama than I am in the process of putting together, but I am awaiting a delivery of some materials which seem to have disappeared into a black hole called the post office. If/when they arrive I will be able to complete the display and I will get on to finish it.

Thanks for looking.

Stephen.