Okay:
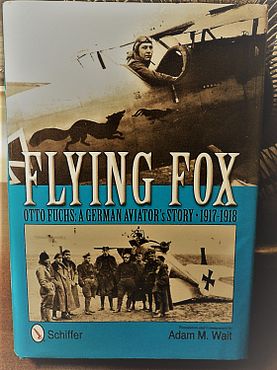
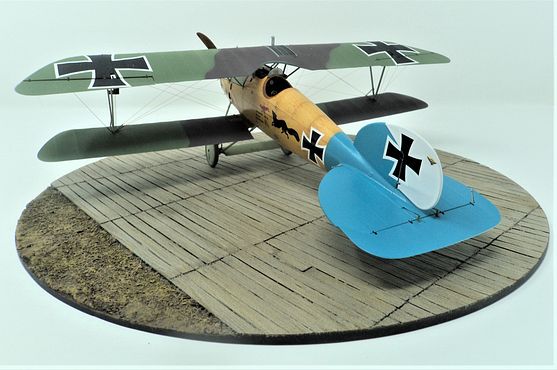
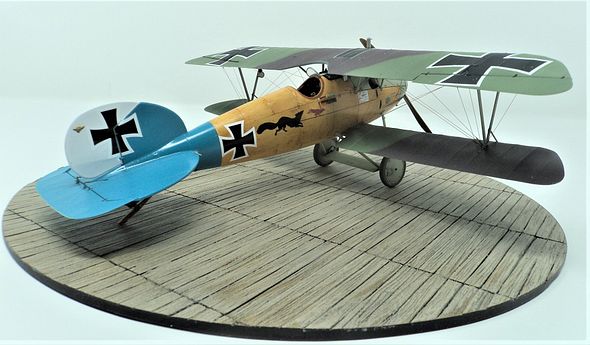
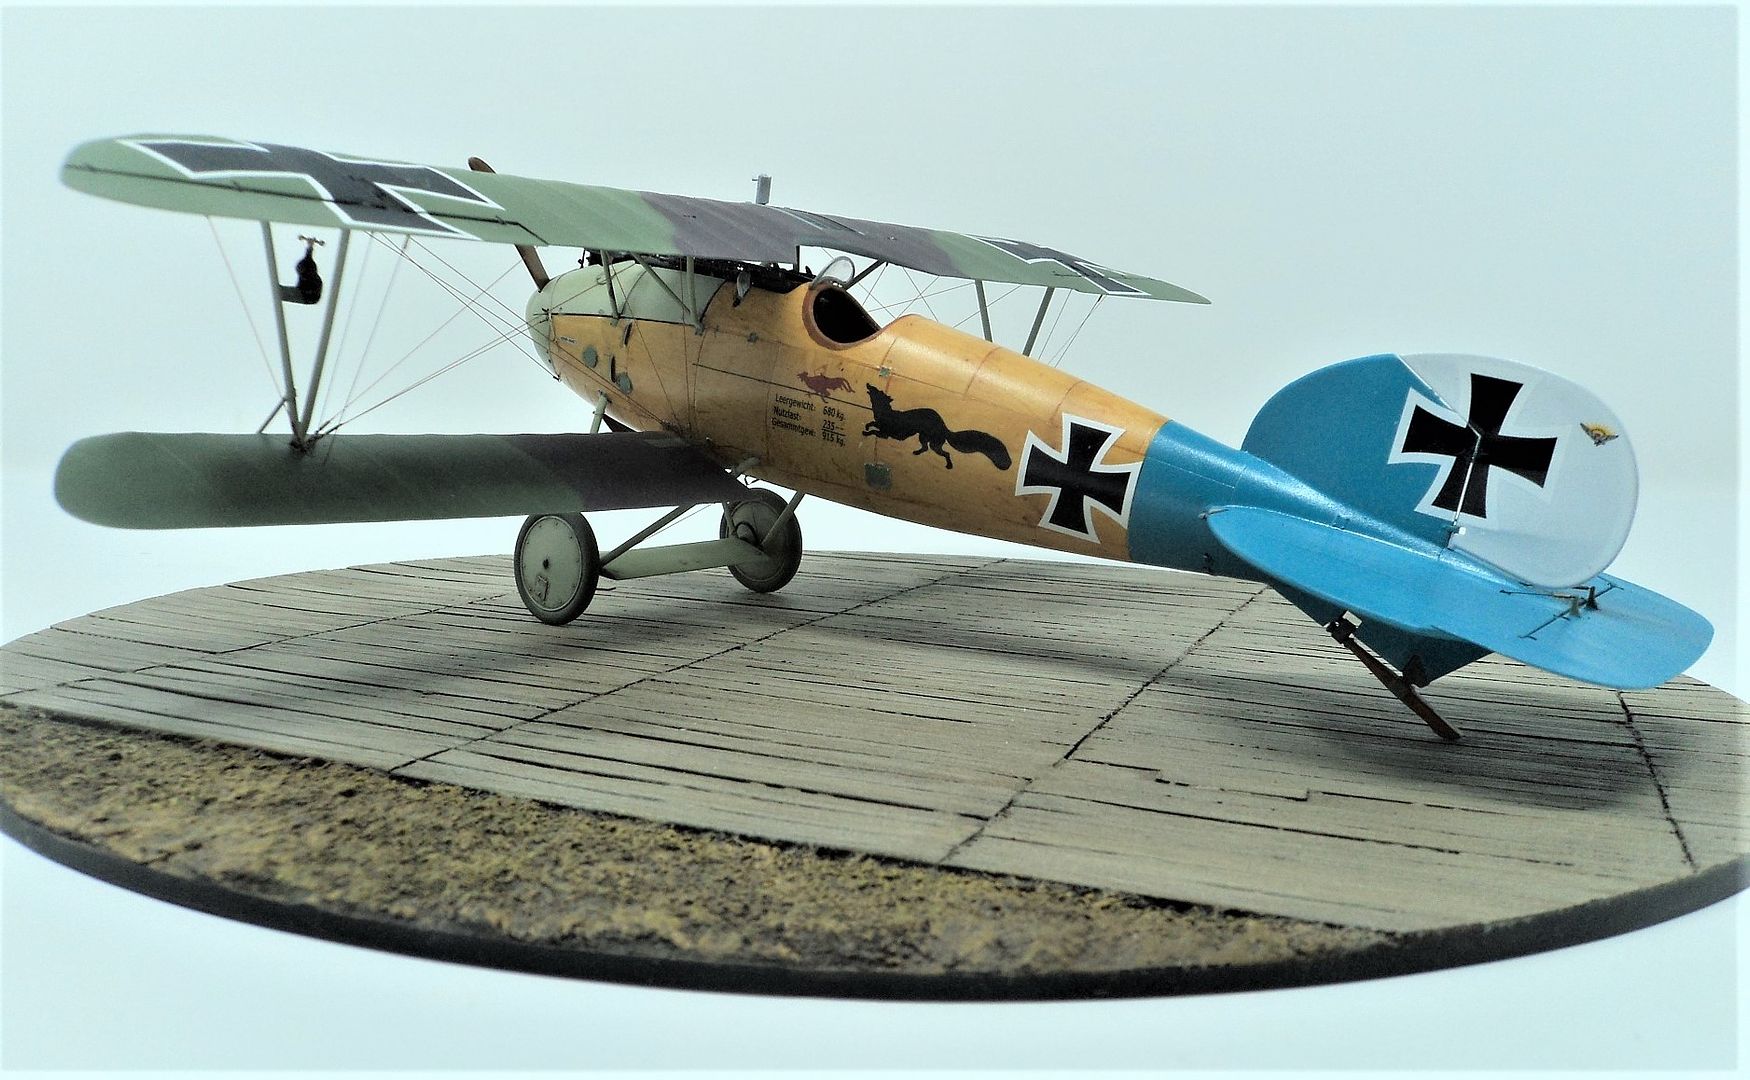
Here are some images of my latest venture into WWI 1/32nd aircraft. After a long hiatis, I joined an Albatros Group Build on Facebook. I chose Otto Fuchs aircraft the Flying Fox as I read his book and thought he was a neat guy and the markings and painting were neat as well.
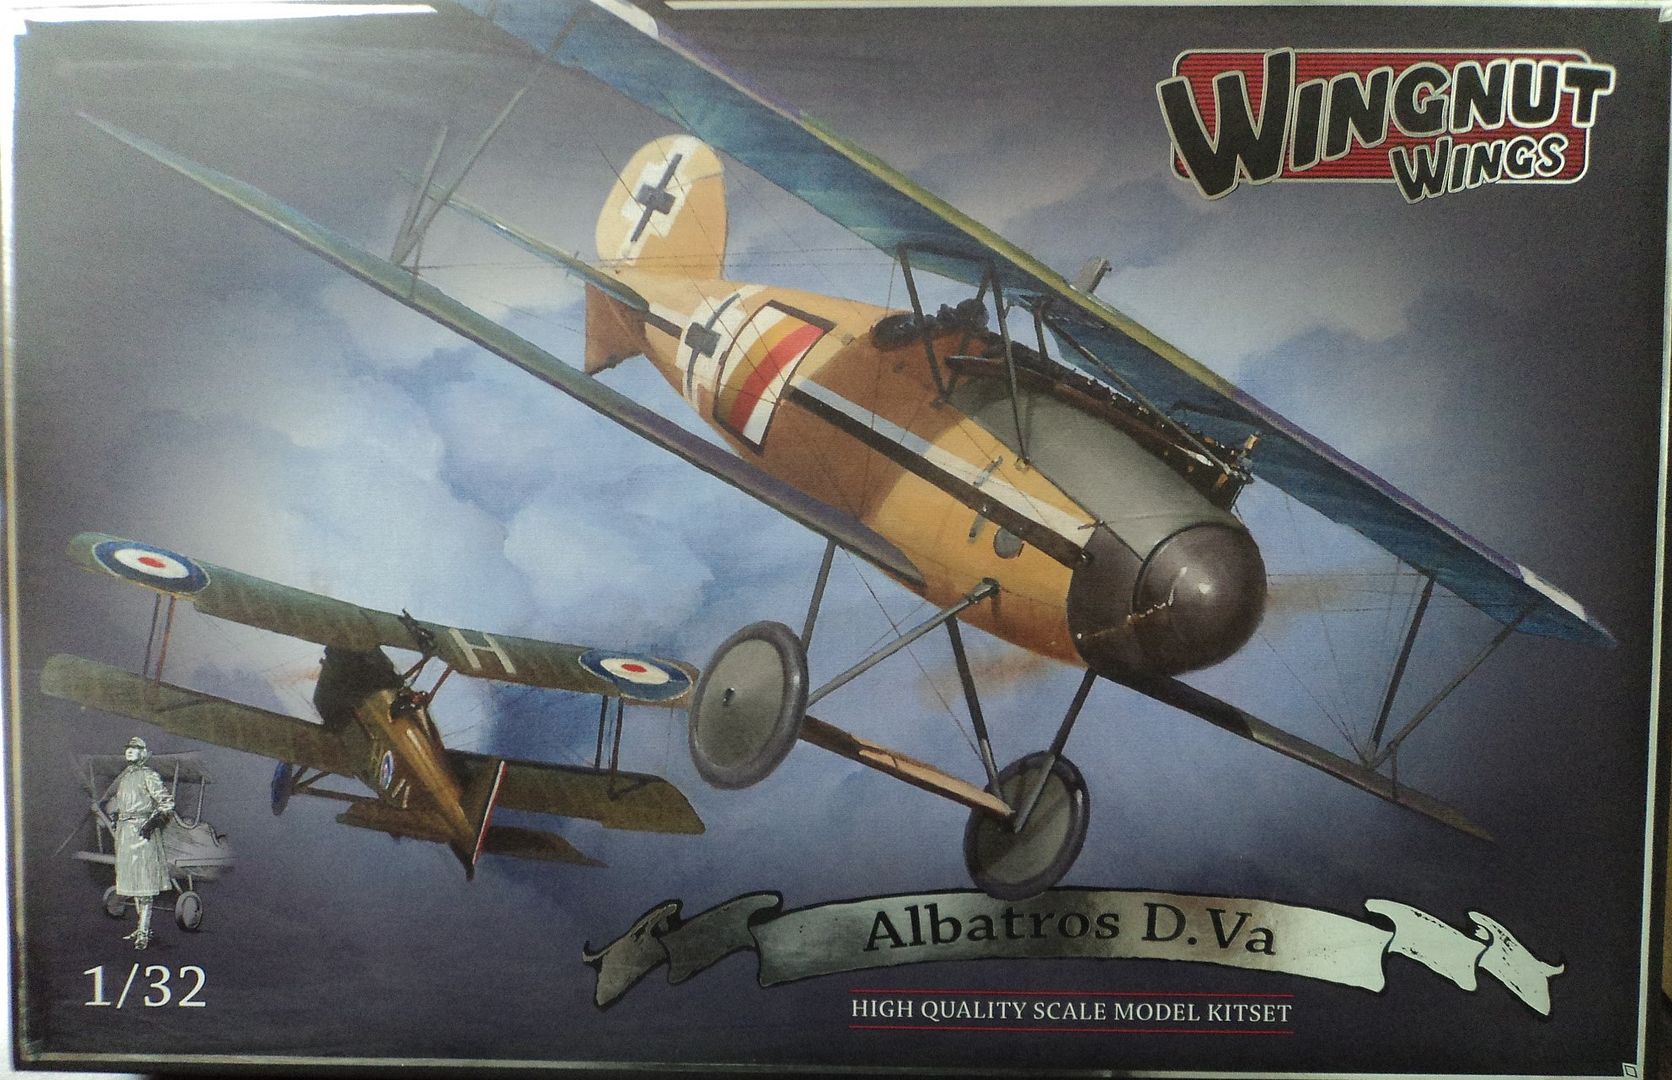
The kit I used is this one, WNW Kit 32015 that I have had in the stash since it first came out.
The Book is "Flying Fox" by Fuchs himself translated into English, a good read.
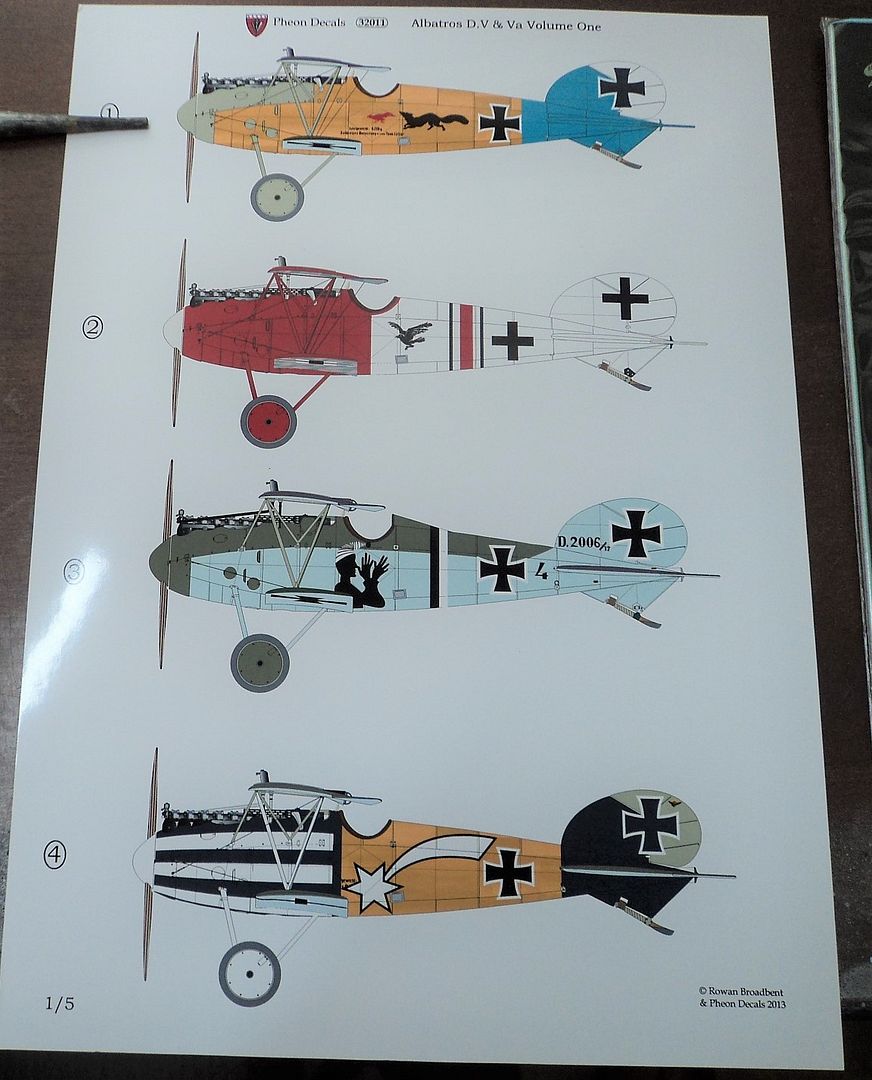
I used PHEON Decals: Albatros VOL. ! DV/DV.a, Sheet number 32011
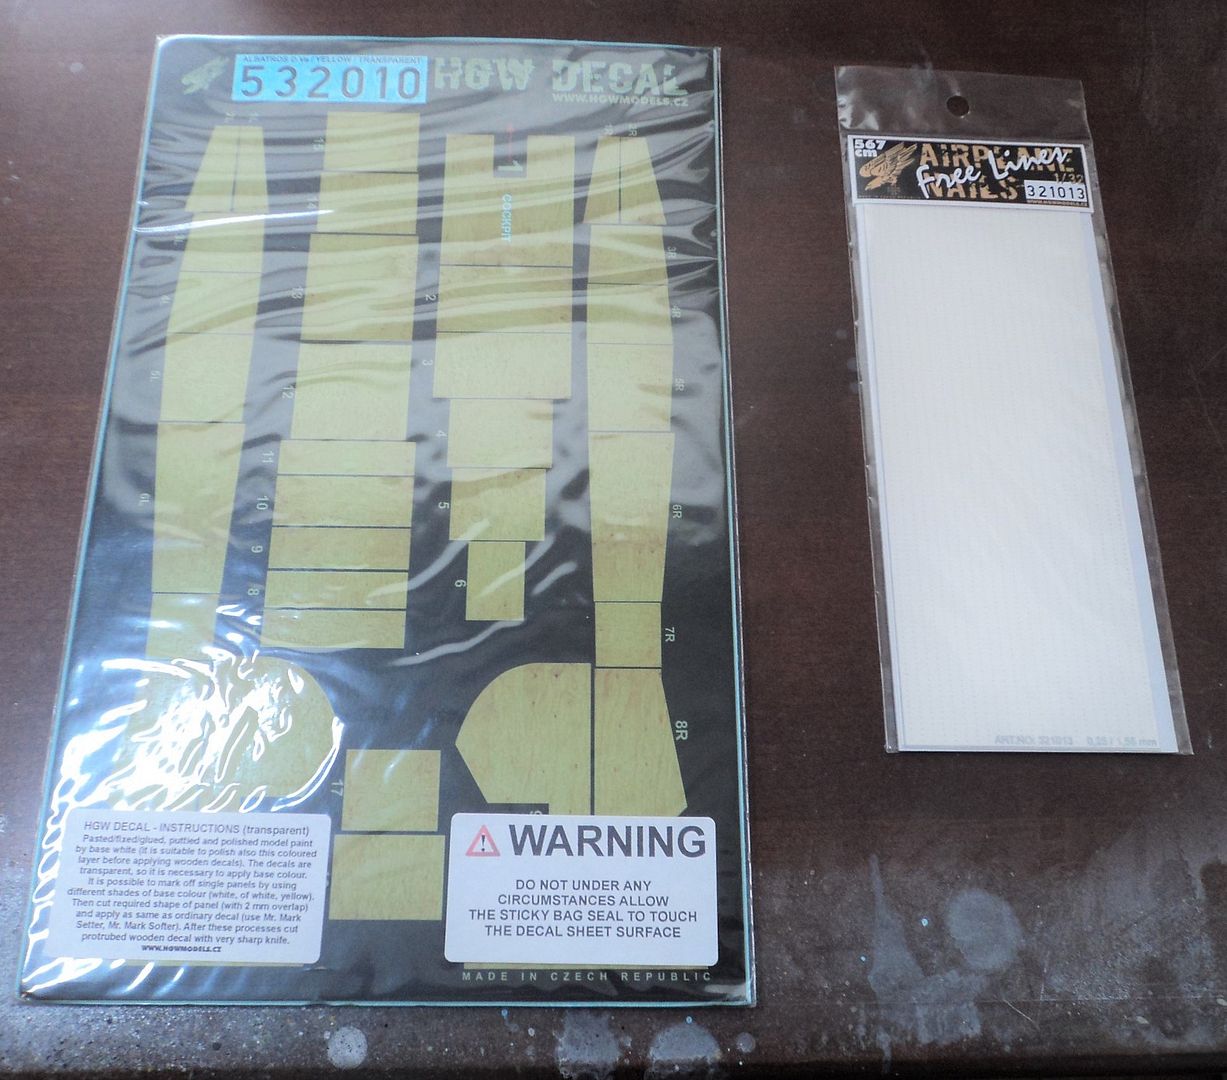
For the wood grain I used HGW Wood Grain decals, number 532010. fixed over a gloss white surface with some highlighting added around the seams and corners. They have to be cut to fit, but with a sharp #11 blade the procedure went fairly smooth. This is the first time I had tried those and I like the effect.
The Model
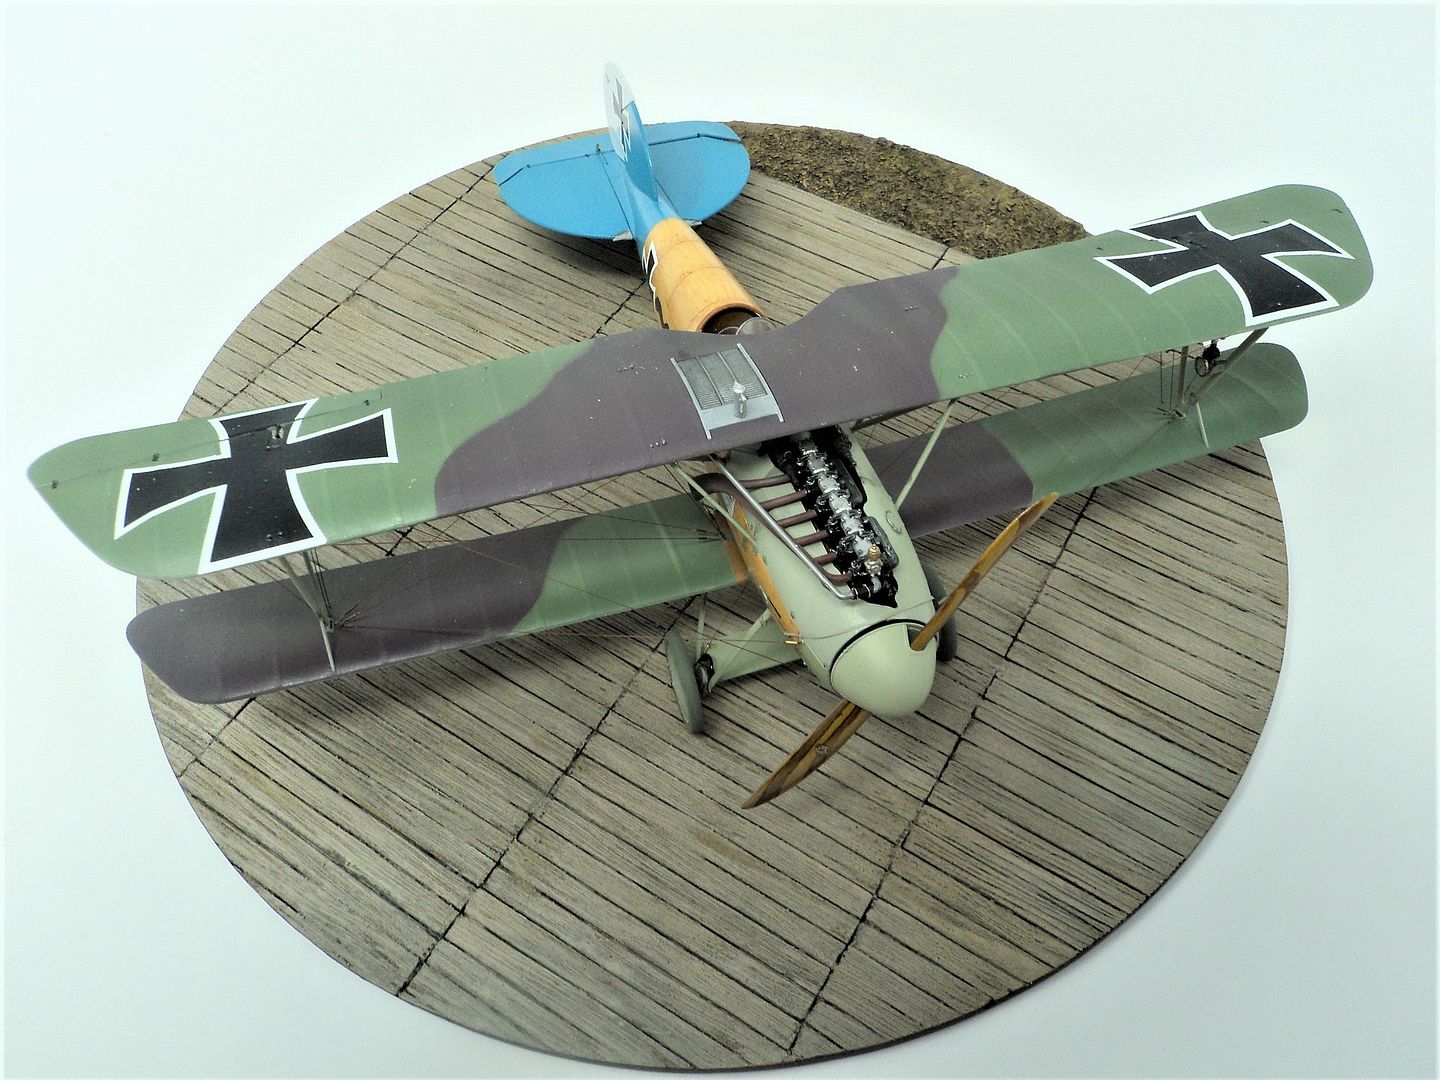
.JPG?width=1920&height=1080&fit=bounds)
Not having built a Wingnut Wings kit in awhile, I had forgotten how delicate some of the parts can be and proceeded to break the rudder pedal and mounting pedestal. An omen.
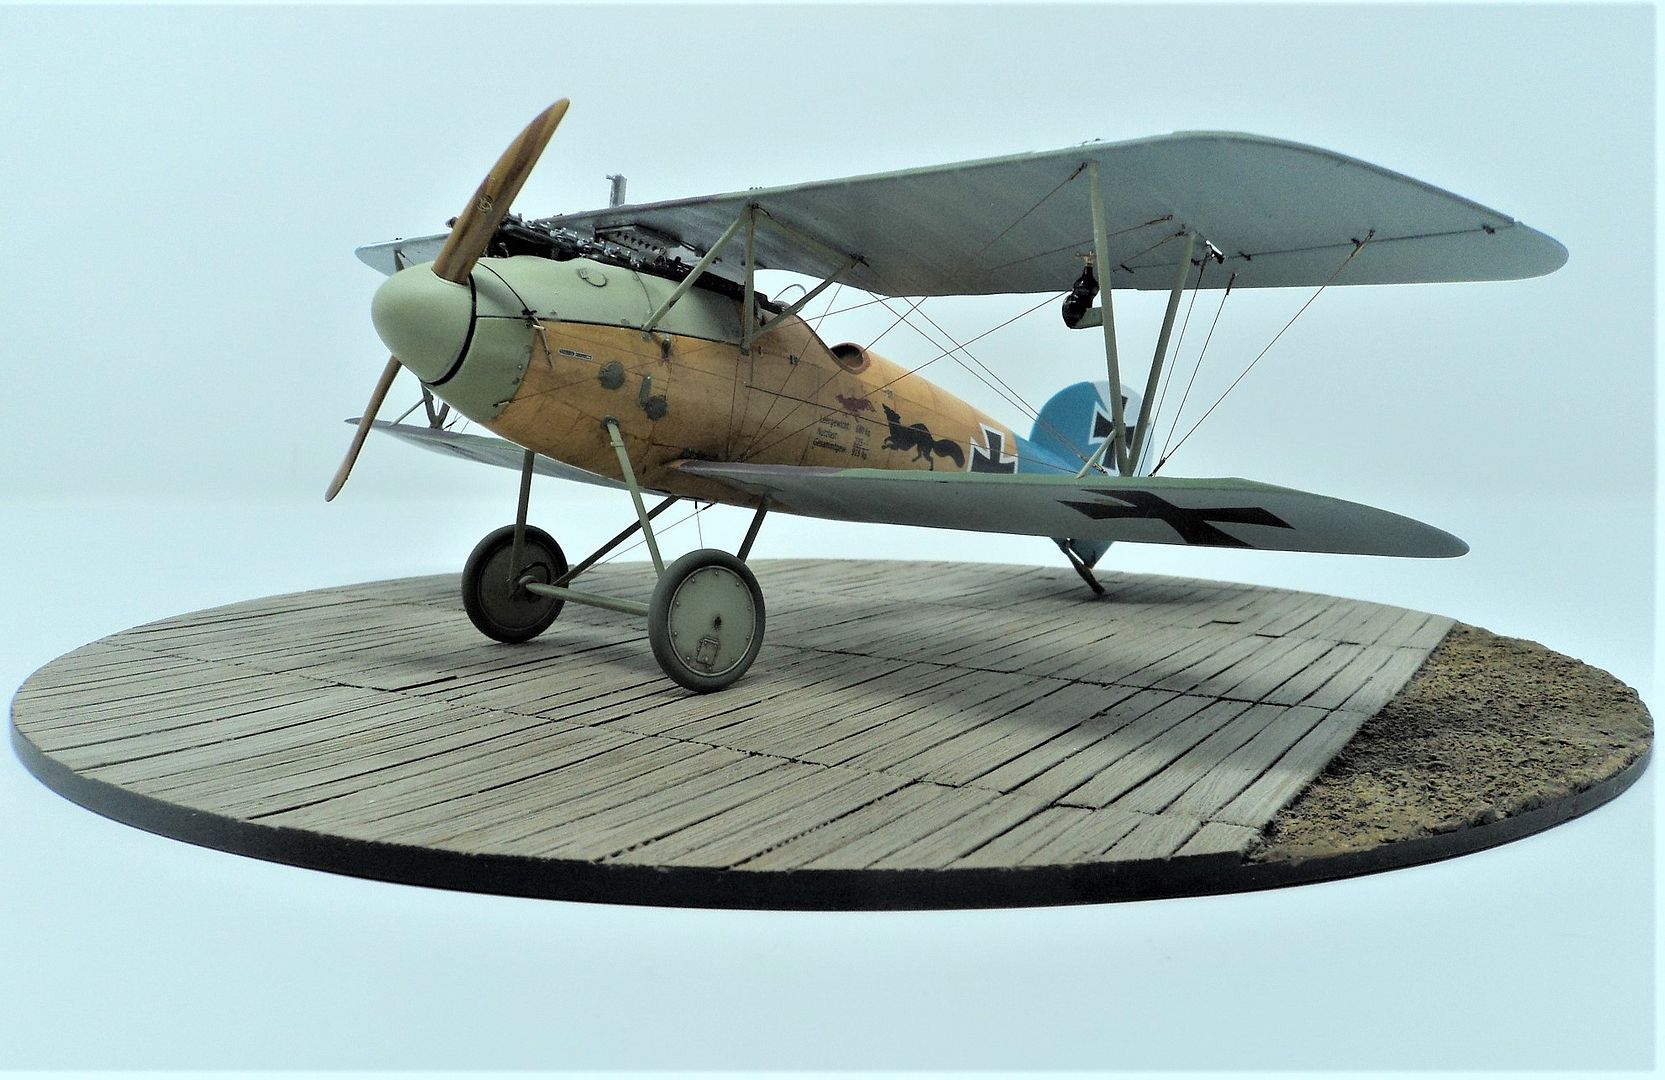
I used Gaspatch turnbuckles for the lower wing attachment points in concert with Bob's Buckles brass tubes and I used the eyelets and tubes for the upper attachment points and the undercarriage rigging. I should have drilled the holes for the Gaspatch turnbuckles in at an angle or put a wire pigtail, as it was, I broke three and had to re drill a hole with the top wing firmly fixed in place. Not fun; but, I prevailed.
The rigging proved to be a challenge as well as I used MAXIM 2 lb. test throughout save for the aileron attachment points I used Modlkasten .06 stretch line.. I need to find a better eye improvement device.
Overall I am pleased with the results
One of the dilemma's I faced was how to attach the cowling "hold down" strap. The instructions have the modeler drill holes for it, but there isn't anything to attach it to. Aha! Bob's Buckles to the rescue. Using an eyelet I worked the eyelet through the hole in the PE Strap and then fixed it to the model, bringing the strap around to the other side, I did the same. "Viola" Attachment points!
For some of the highlighting around the access panels, wheels and elsewhere, I used Tamiya Black Panel Line paint. Let it sit for a for a few minutes and then went over it with a "Q" Tip (Cotton Bud) to wipe off the excess. I like better than oils as it is less messy and is consistent viscosity, wipes up readily.
It took me about 48 days to complete the model, working on it mostly on weekends. I am looking forward to getting back into the WWI side of the hobby and tackling more of the stash.
Enjoy
Mark

