Author Topic: WNW Pfalz D.XII  (Read 14284 times)

Offline mgunns

  • Hero Member
  • *****
  • Posts: 2255
Re: WNW Pfalz D.XII
« Reply #15 on: August 01, 2017, 01:29:53 PM »
Hi Dave:

This is one of my favorite German A/C.  It has some colorful schemes, is menacing looking and a fun build.  Once you get the engine in place, it can hardly be seen, so no worries about the magneto's.
Mark

We few, we happy few.....

Online Borsos

  • Hero Member
  • *****
  • Posts: 3324
Re: WNW Pfalz D.XII
« Reply #16 on: August 01, 2017, 07:50:29 PM »
Oh, I missed that for quite a while... Very nice start on this Pfalz, the cockpit and the engine are looking great.
Borsos
"Deux armées aux prises, c'est une grande armée qui se suicide."
Barbusse.
"Ein Berg in Deutschland kann doch einen Berg in Frankreich nicht beleidigen. Oder ein Fluß oder ein Wald oder ein Weizenfeld."
Remarque.

Offline davec

  • Full Member
  • ***
  • Posts: 179
Re: WNW Pfalz D.XII
« Reply #17 on: August 03, 2017, 11:28:03 PM »
Many thanks for all your kind words.

I appreciate the compliments, but my newbie status was completely reinforced with one of my more disastrous work sessions Tuesday night. 

I didn’t like some of the chemical blackening I had done on some eyebolts I made for my ship.  I put them back in the blackening solution.  Still can’t figure out exactly what happened.  I got a lot of bubbles when I first put them in.  They looked good when they came out, but once they were dry and I started to buff them, both the new and old blackening came off and I had dingy looking brass.  I wasn’t too upset – they were largely an experiment, and I had finally gotten my resistance soldering working the way I wanted. 

Then I started sanding where I had filled the wing root joints on the Pfalz.  I thought I had things filled pretty well, but when I put a coat of primer over on, it still had defects.  Not a big problem, but just disappointing. I think the filler shrank while it dried.  Just needs some more.  I knocked off a spark plug wire.  Also not a huge problem.  Will check to see if they will even be visible once the cowl is closed up before I worry too much about that.

Should have probably quit at that point as it was getting late, I was tired, and I had a 7AM meeting and flight out of town the next morning.  Decided I would airbrush the rudder and stabilizer. The flat white had a small area where the paint collected at the edge, but the red went on terribly on the stabilizer.  I was using Tamiya acrylic with Tamiya acrylic thinner, and it looked like I had stirred it well.  When I sprayed it, it looked like red droplets suspended in the thinner, and it didn’t cover and I got some small runs. 

Was definitely time to quit. Two hours with only backward progress.  I’m travelling for a few days and looking forward to adding more filler, stripping the paint (I’m told windex will take off Tamiya acrylic), and making new eyebolts when I get back home on Saturday. 

Aliluke –I haven’t given up the ship modelling.  I’m just celebrating my new expanded workshop and the ability to have two projects going at the same time.  I never had anything but respect for plastic – I started with plastic cars, but got way too frustrated trying to paint in my old house.  I was sharing my workshop (small table in the corner of the basement) with the cat litter box and dryer.  Lint and cat hair are bad for car finishes.  I hope you get back to your HMS Fly build.

Dave

Online RAGIII

  • Hero Member
  • *****
  • Posts: 18845
Re: WNW Pfalz D.XII
« Reply #18 on: August 04, 2017, 12:05:14 AM »
Many thanks for all your kind words.

I appreciate the compliments, but my newbie status was completely reinforced with one of my more disastrous work sessions Tuesday night. 

I didn’t like some of the chemical blackening I had done on some eyebolts I made for my ship.  I put them back in the blackening solution.  Still can’t figure out exactly what happened.  I got a lot of bubbles when I first put them in.  They looked good when they came out, but once they were dry and I started to buff them, both the new and old blackening came off and I had dingy looking brass.  I wasn’t too upset – they were largely an experiment, and I had finally gotten my resistance soldering working the way I wanted. 

Then I started sanding where I had filled the wing root joints on the Pfalz.  I thought I had things filled pretty well, but when I put a coat of primer over on, it still had defects.  Not a big problem, but just disappointing. I think the filler shrank while it dried.  Just needs some more.  I knocked off a spark plug wire.  Also not a huge problem.  Will check to see if they will even be visible once the cowl is closed up before I worry too much about that.

Should have probably quit at that point as it was getting late, I was tired, and I had a 7AM meeting and flight out of town the next morning.  Decided I would airbrush the rudder and stabilizer. The flat white had a small area where the paint collected at the edge, but the red went on terribly on the stabilizer.  I was using Tamiya acrylic with Tamiya acrylic thinner, and it looked like I had stirred it well.  When I sprayed it, it looked like red droplets suspended in the thinner, and it didn’t cover and I got some small runs. 

Was definitely time to quit. Two hours with only backward progress.  I’m travelling for a few days and looking forward to adding more filler, stripping the paint (I’m told windex will take off Tamiya acrylic), and making new eyebolts when I get back home on Saturday. 

Aliluke –I haven’t given up the ship modelling.  I’m just celebrating my new expanded workshop and the ability to have two projects going at the same time.  I never had anything but respect for plastic – I started with plastic cars, but got way too frustrated trying to paint in my old house.  I was sharing my workshop (small table in the corner of the basement) with the cat litter box and dryer.  Lint and cat hair are bad for car finishes.  I hope you get back to your HMS Fly build.

Dave


So it sounds s though you have had one of those sessions that require re- doing a bit. Not completely a NEWBIE thing, it happens to me all of the time  ::) Just read some of my build logs and you will know this to be true. I am sure you will overcome these small obstacle  as do I on every model!
RAGIII
RAGIII
"A man has to know his limitations": Harry Callahan

"Don't slop it on" Lynda Geisler

Offline wmoran

  • Jr. Member
  • **
  • Posts: 81
Re: WNW Pfalz D.XII
« Reply #19 on: August 05, 2017, 04:20:22 AM »
If Windex doesn't work, Easy Off oven cleaner works great - just be sure to wear rubber gloves because it will burn your skin.  For airbrushing Tamiya paints, I much prefer their lacquer thinner to their acrylic thinner. The paint seems adhere better.  Apparently Tamiya paint is an acrylic lacquer, whatever that is.  I know they had lots of problems several years back importing into the US due to product labeling issues.  Spruebrothers.com now has it listed under the lacquer paint category.  It is definitely my favorite paint to airbrush.

Bill

Online Borsos

  • Hero Member
  • *****
  • Posts: 3324
Re: WNW Pfalz D.XII
« Reply #20 on: August 05, 2017, 06:44:06 AM »
Bad news really. I cross my fingers for you, you surely will fix the issues.
I always use isopropanol to thin Tamiya and Gunze paint. For cleaning the Airbrush or stripping off paint from the model I'd recommend methoxypropanol. That stuff is sold here in 3 liter cans and is much cheaper than every thinner.
Borsos
"Deux armées aux prises, c'est une grande armée qui se suicide."
Barbusse.
"Ein Berg in Deutschland kann doch einen Berg in Frankreich nicht beleidigen. Oder ein Fluß oder ein Wald oder ein Weizenfeld."
Remarque.

Offline davec

  • Full Member
  • ***
  • Posts: 179
Re: WNW Pfalz D.XII
« Reply #21 on: August 05, 2017, 11:30:23 PM »
Thanks for the suggestions.  I will try the Tamiya lacquer thinner.  I have some on the shelf from when I used to use their primer.  Would have thought that their regular thinner would have worked, but it clearly didn't.  There was definitely something weird about the red paint. Usually, Tamiya paint cleans off with soap and water.  I needed lacquer thinner to get the red off my hands.

Will start with windex for the stripping and get more caustic as necessary.  I'm hoping the windex will take off the acrylic without removing the lacquer based primer underneath. We will see.  Hope to get into the workshop later today.

thanks!

Dave

Offline xmald

  • Hero Member
  • *****
  • Posts: 1093
Re: WNW Pfalz D.XII
« Reply #22 on: August 08, 2017, 02:11:46 PM »
Also you can try Mr. Levelling Thinner by Gunze - works like a charm for any acrylic and cellulose based paint I know. Even Pactra seems a better paint with few drops of it ;)

Best regards
Filip

Offline davec

  • Full Member
  • ***
  • Posts: 179
Re: WNW Pfalz D.XII
« Reply #23 on: August 15, 2017, 04:49:21 AM »
Thanks everyone for their suggestions.  I just got back to town after a week and a half travelling.  I did a little experimenting prior to my trips.   Windex easily removes Tamiya paint without harming the underlying primer.  I poured enough into a small container to just cover the part, let it soak for a few minutes, then rubbed it with a cloth.  The paint came right off.

I tried the lacquer thinner.  Got much better flow, but lots of tip dry.  I think I overthinned with the acrylic thinner the first time.  I'm still experimenting.  I usually spray flats, but this was my first try with acrylic gloss.  I'm trying to get it to flow more smoothly.

Anyways, as soon as I dig out of all the work that piled up, I will get back into the workshop.

Dave

Offline davec

  • Full Member
  • ***
  • Posts: 179
Re: WNW Pfalz D.XII
« Reply #24 on: August 22, 2017, 10:39:27 AM »
Made it back into the workshop yesterday.  Nothing to take pictures of yet.  Got the seams between the lower wing and bottom of the fuselage filled.  Not sure why I had a little misalignment.  It took me a few rounds of filling, sanding, and repriming. Final trick was cutting little pieces of sandpaper instead of using the sanding sticks.  Was much easier to follow the curves and get into the tight areas.  I'm working overnight tonight.  Will hopefully spend tomorrow making the 30 wire loop rigging anchors.

Dave

Offline davec

  • Full Member
  • ***
  • Posts: 179
Re: WNW Pfalz D.XII
« Reply #25 on: August 30, 2017, 03:11:55 PM »
Still nothing to post pictures of.  I had airbrushed the fuselage with the drooling bulldog pfalz silbergrau (awesome paint).  After I attached the lower wing, I filled the gaps (mostly happy with result).  I tried out an Iwata RG3 for spraying the upper and lower wings with white primer for under the lozenge decals. The RG3 had been sitting new in its box for a while, and I wanted to try it. I  thought it would be good for getting a smooth primer coat on the large surfaces.    Moderately steep learning curve.  It does put the paint on smoother, but is a little harder to clean. It uses a lot more paint.  The layer on the model is thin- most of it ended up in the spray booth filter. 

I went back to touch up the silvergrey.  I had masked the cockpit and engine.   I can see a slight difference in color and really fine line between the masked original paint and the touched up area that I will need to fix. 

Biggest challenge is that I have had my daughter home from college this summer, and she has been doing her quilting in the workshop with me.  Spending time together has been great, but from the airbrushing perspective, it has been more "linting" than "quilting".  I'm getting good at rubbing out dust from the finish and touching up.  She heads back to school this weekend.

Pictures when I get something I'm satisfied with.  Hopefully soon.

Dave

Offline davec

  • Full Member
  • ***
  • Posts: 179
Re: WNW Pfalz D.XII
« Reply #26 on: September 03, 2017, 04:05:35 AM »
The last few weeks have been spent “learning” (also known as redoing the same thing over and over again).  Ran into a few problems.  If anyone has some advice for avoiding them in the future, I’d be very appreciative.   

I glued the fuselage halves together.  I had some problems with the joint between the two halves.  There is a raised strip running down the joint, and I was careful not to sand it off.  In the end it probably would have been easier to sand it flat and replace it with a strip of styrene that also would have covered the seam.  I painted the silver grey with drooling bulldog paint, and was very happy with the result- great paint. 

Then test I fit the lower wing.  At that point I saw that I was going to have a significant joint visible on the bottom where the wing met the fuselage in front and back.  As best I could tell, this was not a place where there was supposed to be a visible seam.  This led to a multiple rounds of filling and sanding.  I had taken off the masking over the engine and cockpit, but thought I could just generally mask over the area as the paint in the general vicinity hadn’t been affected by the sanding and priming.  When I finally got the area adequately filled and repainted, I discovered there had been enough paint buildup at the edge of the masking that I had a visible line.  It took a few repetitions of sanding with 1000+ paper and repainting to get rid of it. 

There was also a big dust problem (lint from my daughter’s quilt stuffing) that took a fair amount of touching up.  She went back to college today.  I spent a while vacuuming.  Dust should be back under control until school vacation.

When I took my pictures I found an area where I didn’t sand well enough, but it is time to move on.   
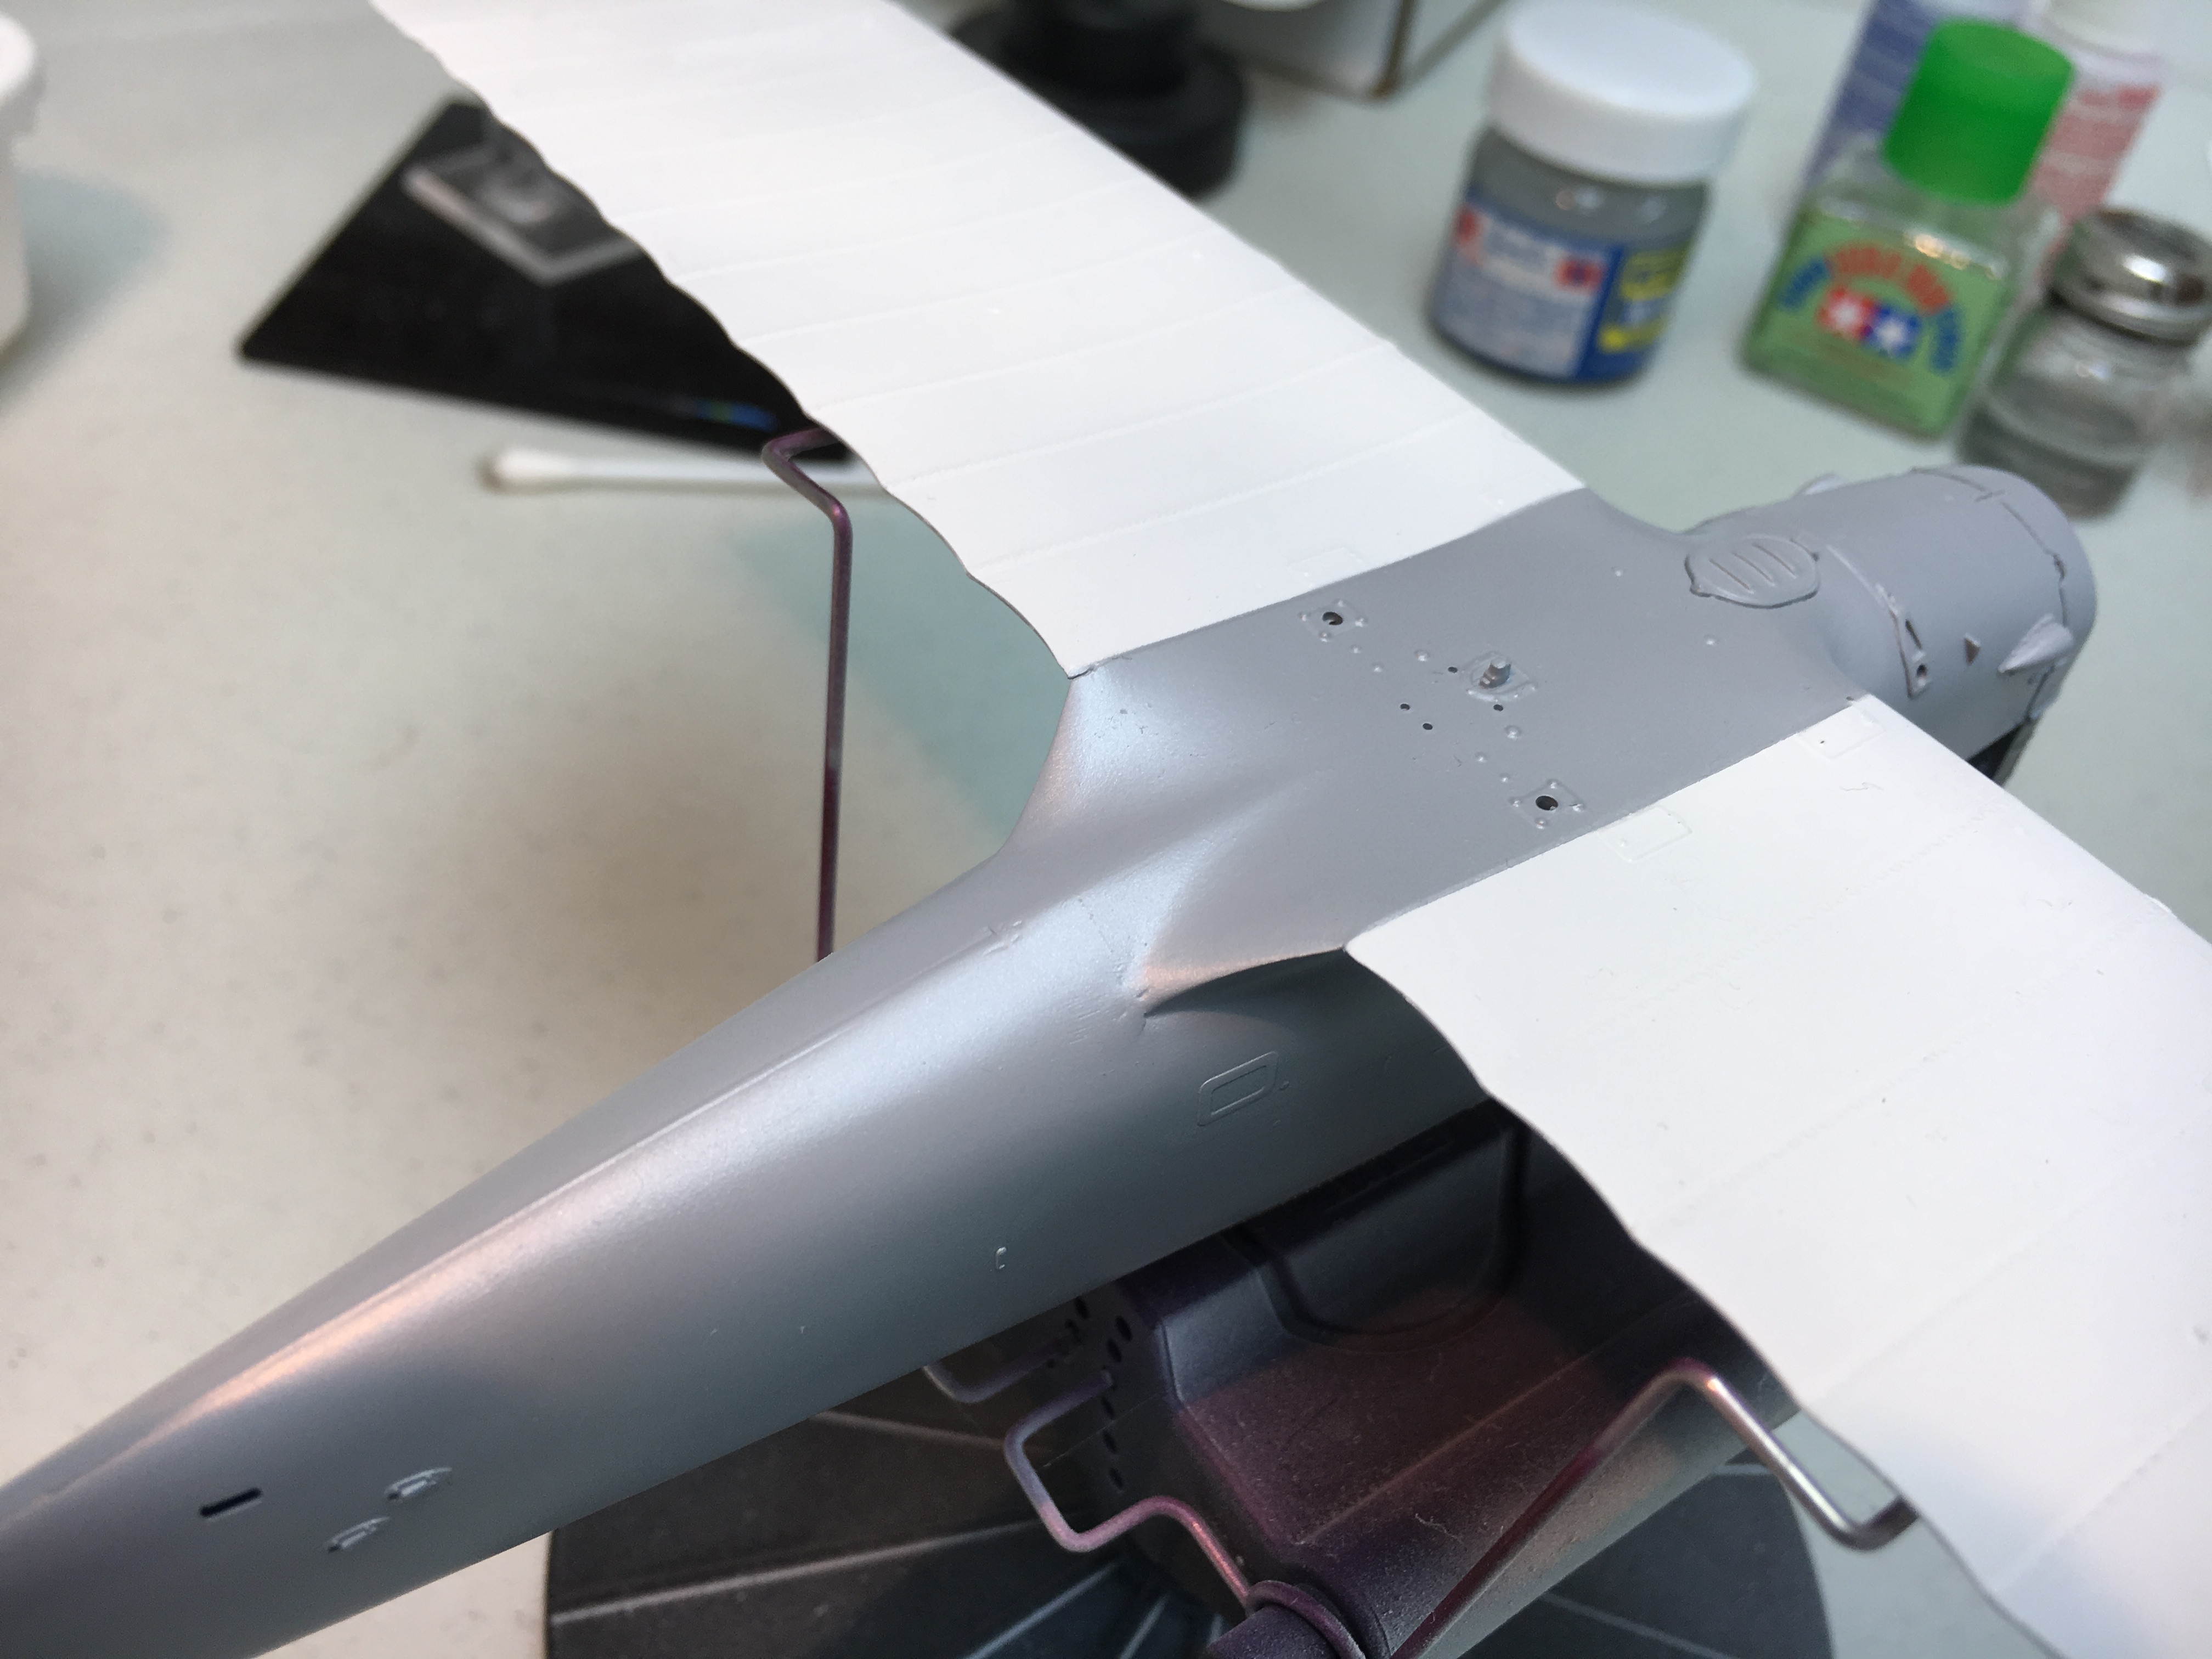
I’m hoping the white primer works well under the lozenges. I just realized it will be very visible if I get a gap between the decals, so I hope they fit well.  I still have time to repaint another color if anyone has a better suggestion.  I had thought it would work well to not change the decal colors.


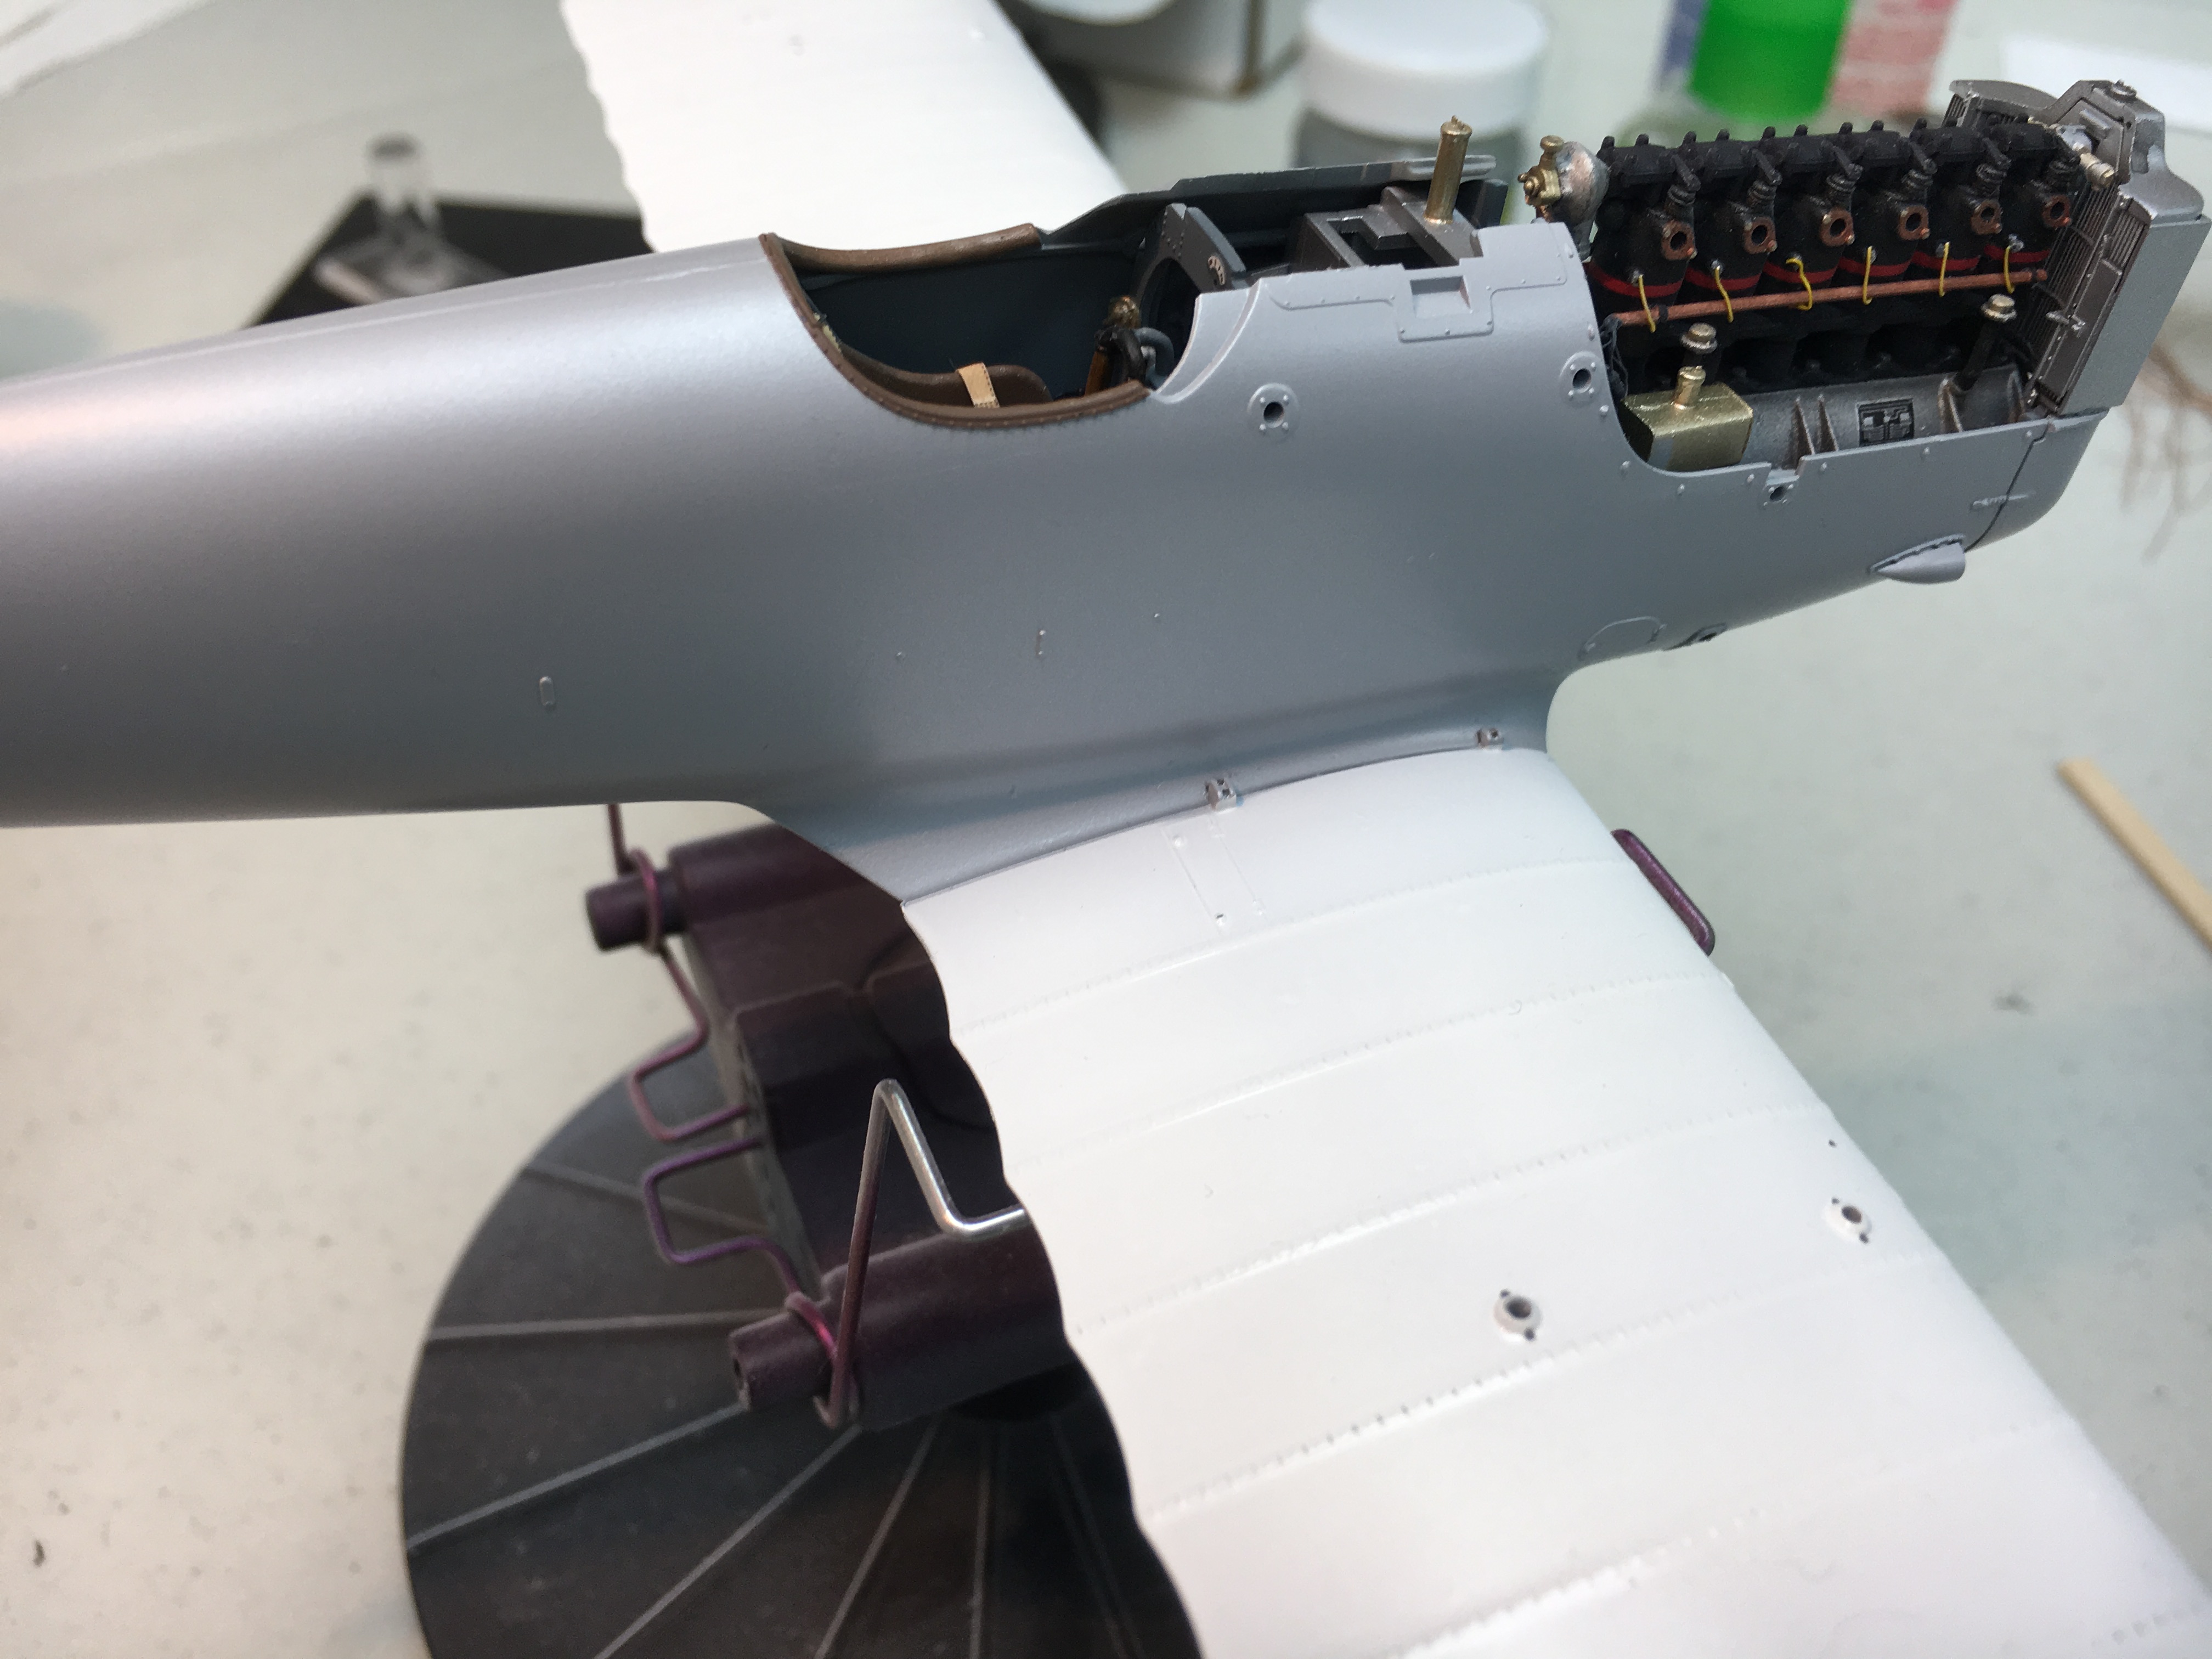
I knocked one of my spark plug wires loose when I was painting.  When I first put them on, I had a terrible time with super glue, which didn’t want to adhere to the wire coating.  I tried gator grip acrylic, which worked great.  Would have saved me a lot of tedium the first time around.


Offline dr 1 ace

  • Hero Member
  • *****
  • Posts: 2340
Re: WNW Pfalz D.XII
« Reply #27 on: September 04, 2017, 12:56:02 AM »
making good progress, await next  postings !

Ed
Life is short, enjoy it, nobody gets out alive.

Online RAGIII

  • Hero Member
  • *****
  • Posts: 18845
Re: WNW Pfalz D.XII
« Reply #28 on: September 04, 2017, 07:41:41 AM »
Looking great! I too sometimes struggle with super glue. I will have to give the Gator glue a try!
RAGIII
"A man has to know his limitations": Harry Callahan

"Don't slop it on" Lynda Geisler

Online Borsos

  • Hero Member
  • *****
  • Posts: 3324
Re: WNW Pfalz D.XII
« Reply #29 on: September 04, 2017, 06:53:37 PM »
Very nice and clean build. You do everything right! The glossy white would be the perfect base for preshading the Tarnstoff Decals, if you like that.
Borsos
"Deux armées aux prises, c'est une grande armée qui se suicide."
Barbusse.
"Ein Berg in Deutschland kann doch einen Berg in Frankreich nicht beleidigen. Oder ein Fluß oder ein Wald oder ein Weizenfeld."
Remarque.