Thanks Rick, I just get a lot of time off work, so that helps!
Another fruitful afternoon with not a lot to show.... however all the rigging holes have now been drilled in the Triplane.
I promised a "how-to" guide on another forum, so I will go into a little more detail than usual here to hopefully give a guide to those just entering the WWI modelling scene......this is, however, only MY way of doing it, not the ONLY way, so feel free to adapt it to your own needs!
I started with the centre wing. The problem here being that I need to get a straight run for the flying and landing wires through the centre wing, but only have the plans and measurements from them to do it.......hoping that when the wings are in place they will match exactly! Obviously this requires careful measurement for both drilling the holes and mounting the wings. Using the Datafile plans, photos and pics from the WnW website, and pics I took myself at the RAF Museum, I worked out that the landing wires pass through almost exactly halfway between the struts - (that should be pretty straightforward to assume as the gaps between the wings are the same), and since they attach to the wing at the centre of the struts, both top and bottom, they should be drilled level with the centre points of the cabane and wing struts where they pass through the centre wing - a straight pencil line was therefore drawn to mark that point . The bracing wires from the fuselage attach to the rear spar, which also forms the front edge of the centre cutout, and the mounting point for the ailerons, so it was easy enough to pencil in a line between the two,giving me my first reference point, and they are in line with the flying and landing wires, (fore and aft), giving me my second.
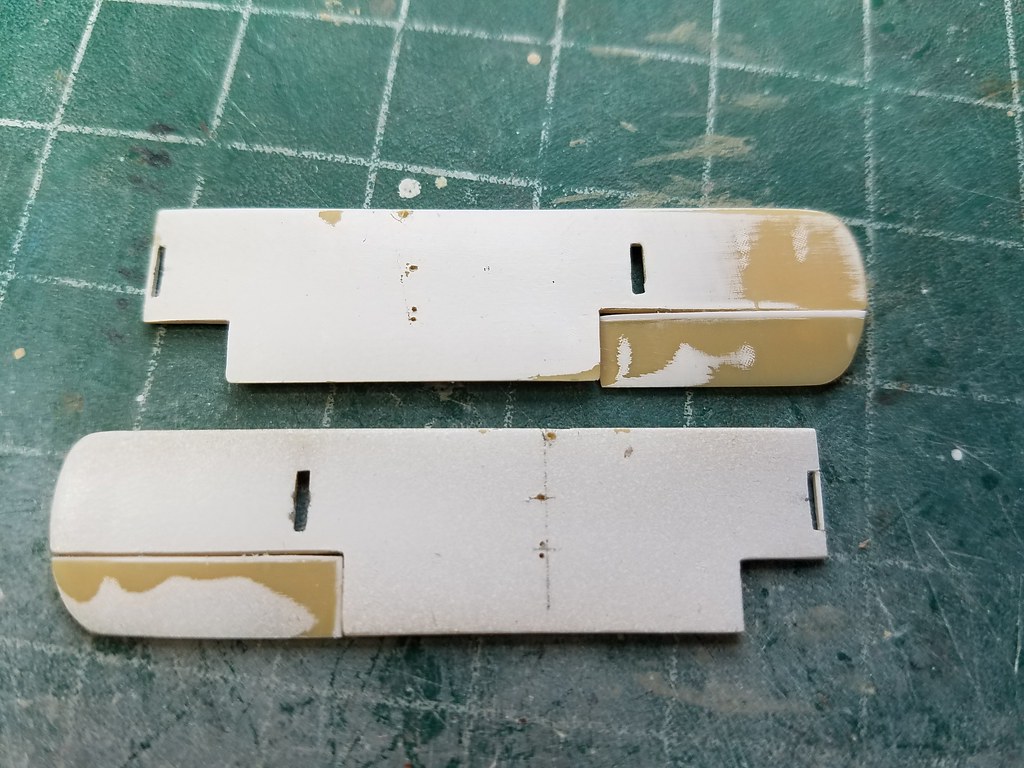
The hardest part now done, I continued with the rest of the fuselage attachment points. Care is needed, double check your references and compare from different angles......the rear bracing wires for the centre wing attach to the upper and lower fuselage longerons at the same place (fore/aft) so once one had been marked, the others had to match...check the marks by lining up a straight edge on them and making sure the straight edge is parallel to the trailing edge of the wing - if it isn't, adjust the marks to make it so before drilling the holes.
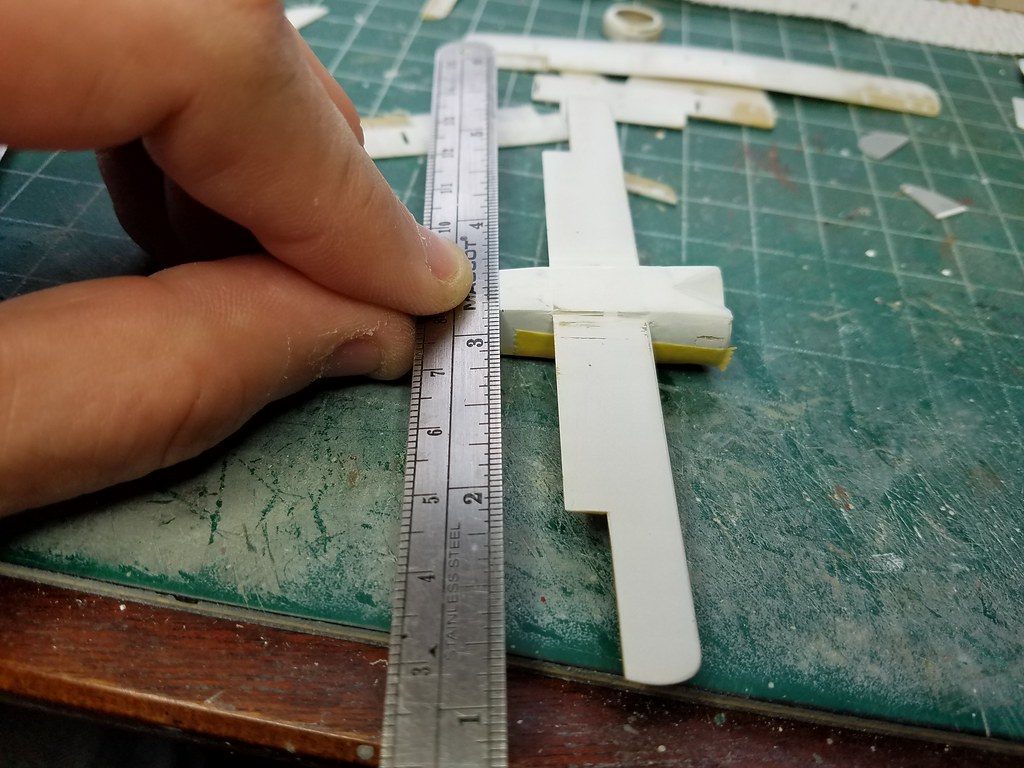
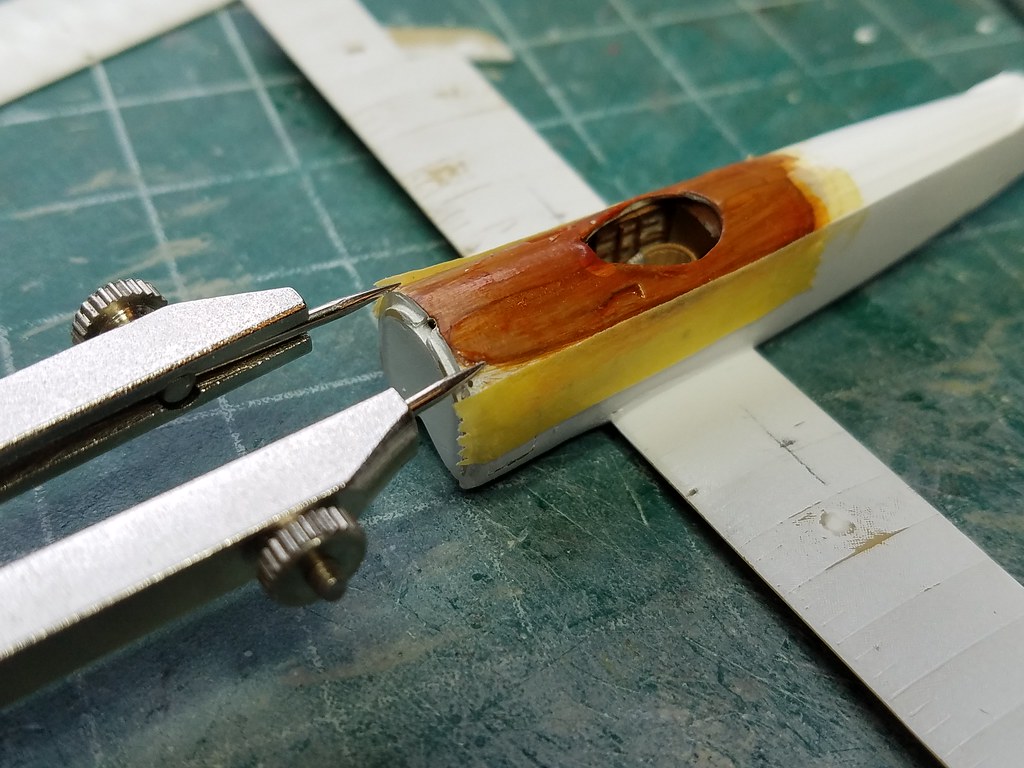
One other very useful tool for marking rigging holes is a set of dividers These will ensure that distances are equal, especially in this scale - it is almost impossible to accurately measure with a ruler - which side of the line is 2mm....left, right, or on it? Use the dividers and make a small indent in the plastic where the holes need to be - they will be the same distance apart, and you will have a guide for the drill bit to sit in when you start drilling. You can also make sure that the lines will be positioned correctly just by sight, by placing the dividers equally either side of the fuselage centre line..
That's it for today, I hope the info is useful to those who need a little "push" to get them into rigging!
Ian

