Hi All,
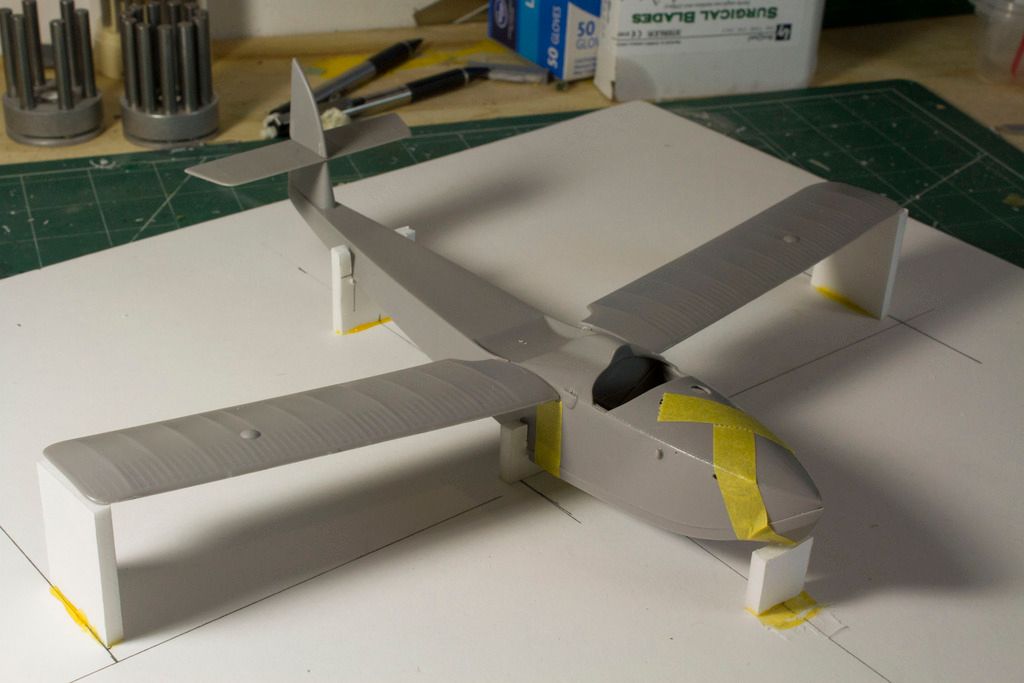
I thought I would join the fun with my HPH Macchi build. I thought this might be fun, since Des has started his assemble sequence in a different place from mine. HPH have treated us to one of the most elegant aircraft of the Great War and for the most part the kit is very nicely presented. The hull is a wonderful casting and has some very fine detail. All in all, I am looking forward to putting this one together.
I am assembling, test fitting, and modifying all of the major components as necessary before I move on to detail parts, gluing or painting. For all intents, I intend to completely build the model, then disassemble it, paint and then glue. To do so I have constructed a couple of jigs from foam core.
This first photo shows the jig that will aid in aligning all of the major components. It will grow and be modified as needed as I work through the test fit sequence.
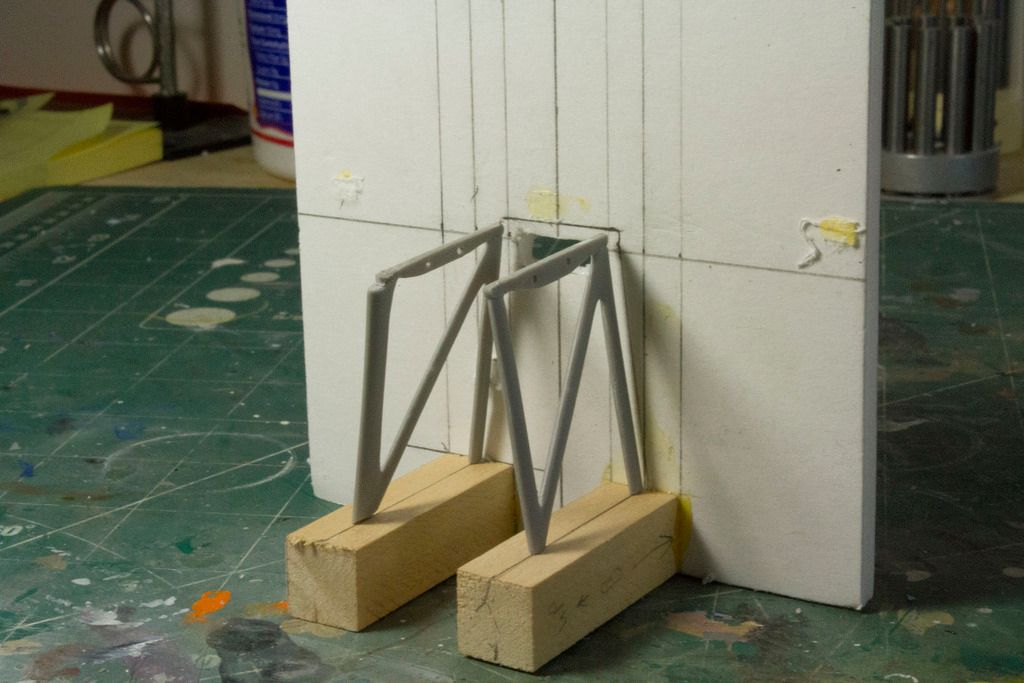
Here is my jig for building the engine supports and associated struts. I have been experimenting with several different alignment strategies, so it looks a little messy. The holes in the engine bearers are for pins to hold everything together. I suspect that this part of the assembly will be the crux of the build and crucial to getting the upper wings to sit properly on the rest of the airframe. I may decide to fabricate a new set out of brass. We will see what happens with the kit pieces first.
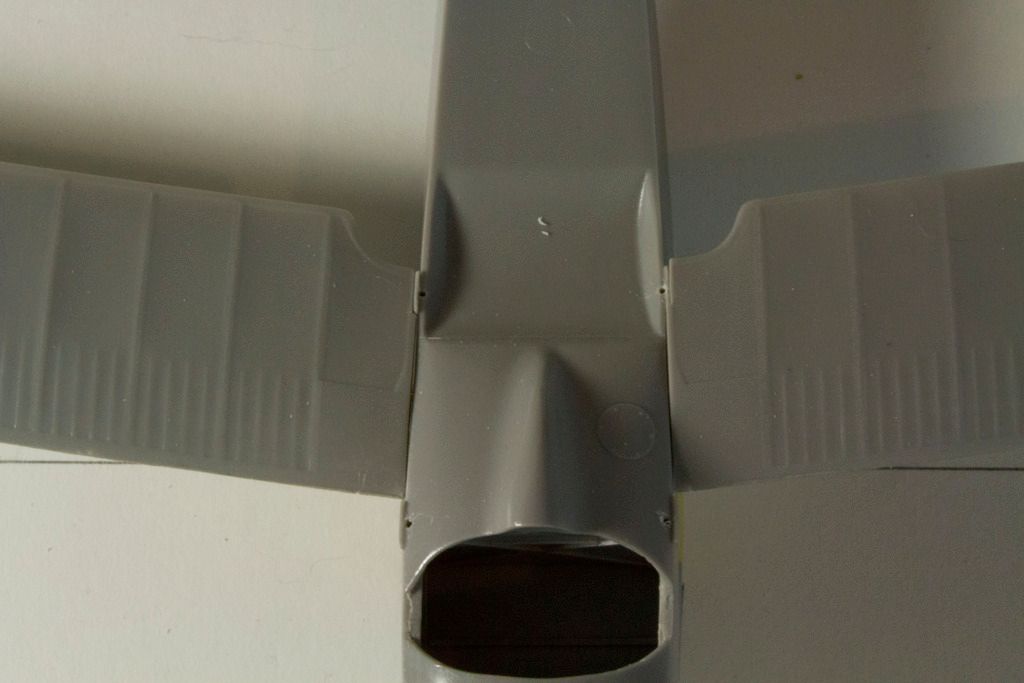
A couple of observations for those building this kit. First, the lower vertical tail plane/hull (its a boat, yes?) from my example has a slight (about 3-4 degree) twist just before the tail. This might not seem like much, but it is noticeable when the horizontal stabilizer is attached. I may try and fix this, I may not. Second, the lower wings do not sit flush with the fuselage and leave a large gap. I have fixed this (see below) by recessing the rear wing root for each lower wing.
This in itself is an easy, three minute, fix. However, I am taking a risk here in that doing so moves the mounting points for the main wing struts back and towards the hull a couple of millimeters. Depending on how the kit was designed to be assembled (it could be that I was supposed to just fill the gaps, and I have put the upper an lower wings out of alignment) my solution may or may not have been the right one. Time will tell. I will keep my fingers crossed.
Thanks for looking,
Dave

