Update!
We left off with one of the upper wings ready for the ribs to be added. I will show a little bit of that process and how I do it, and then move on to showing parts as they're completed.
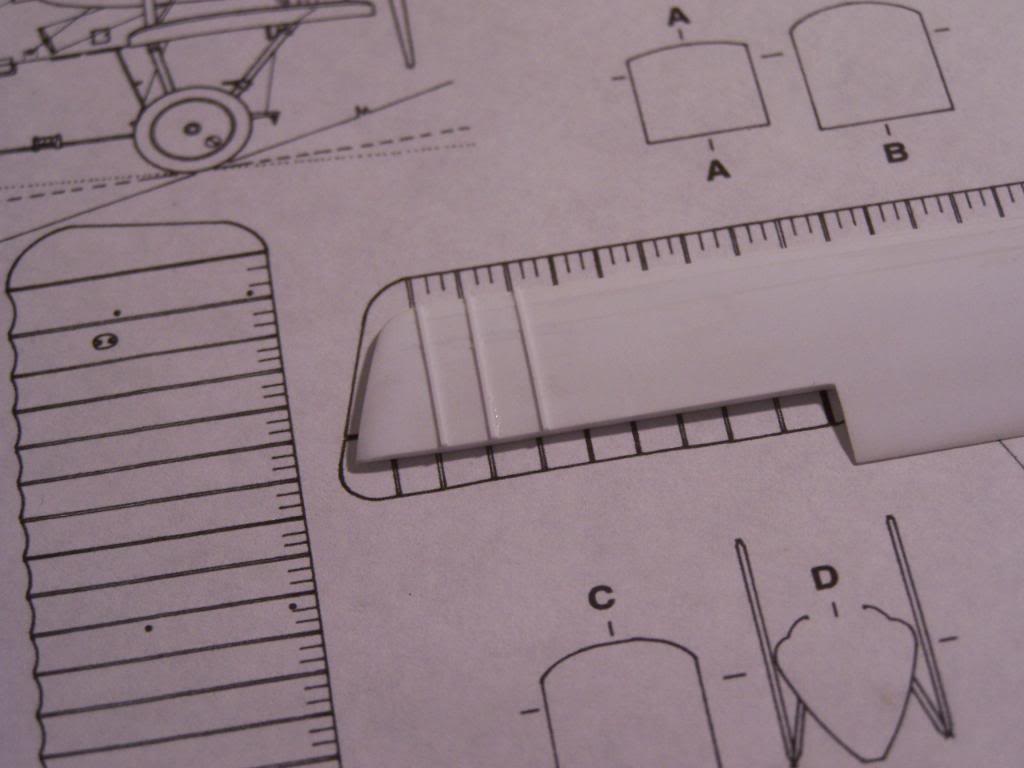
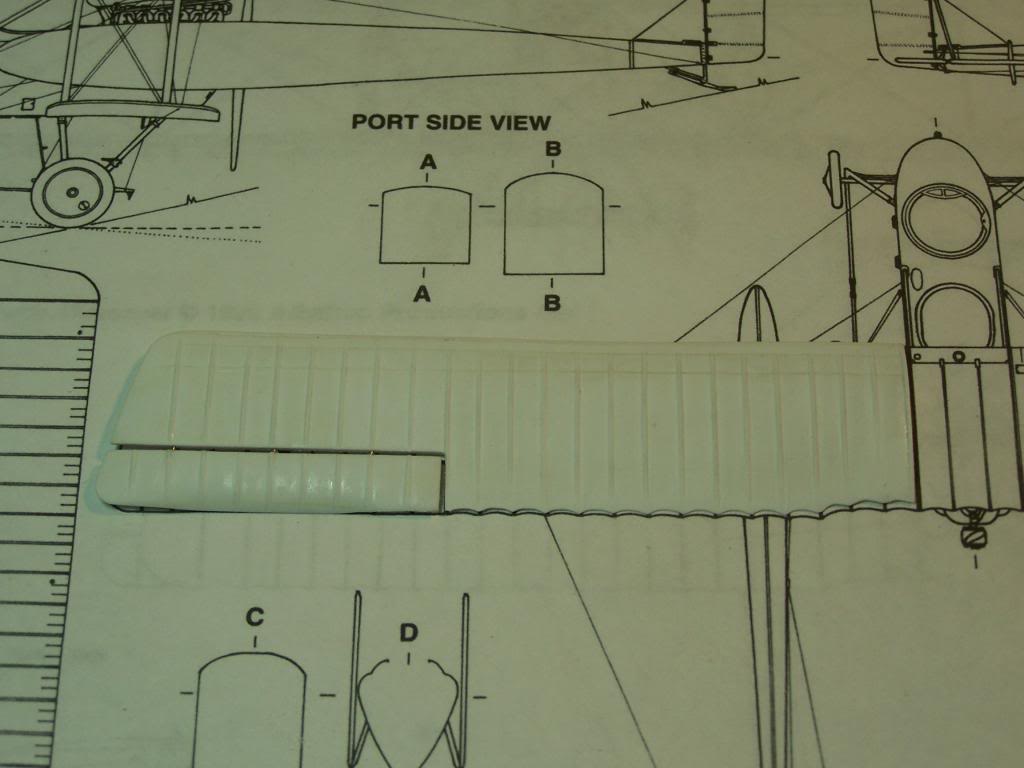
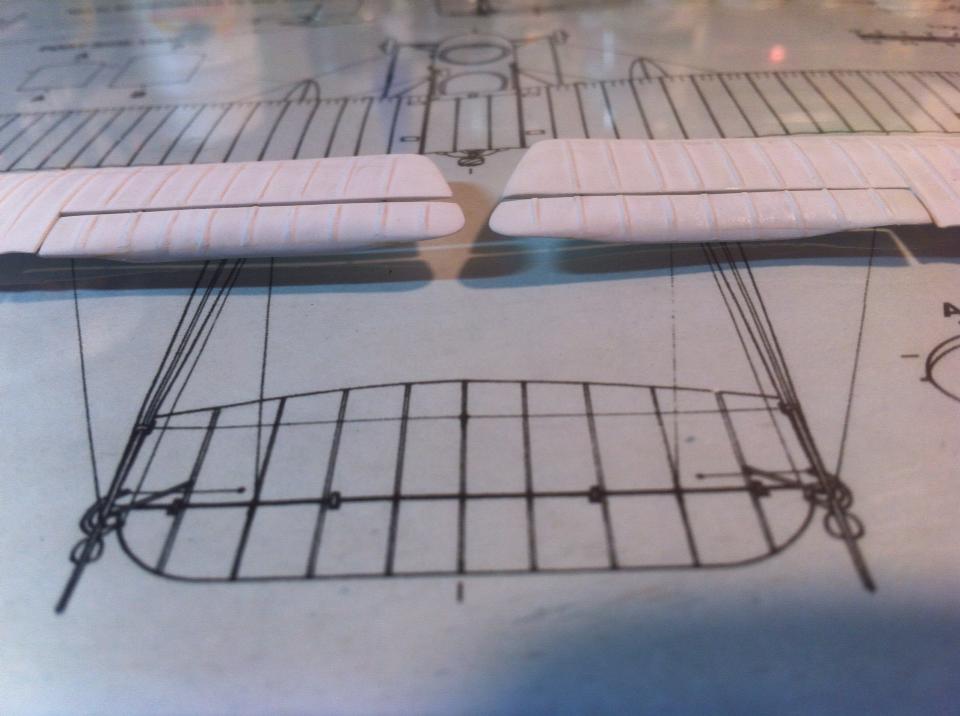
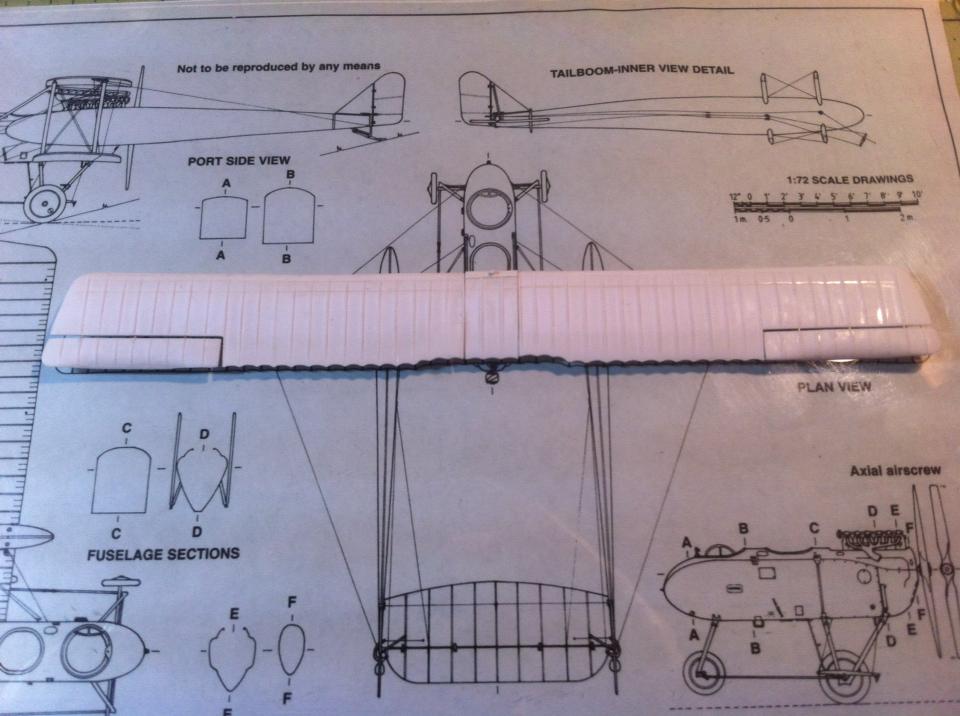
Before getting to the rib process, here are a few shots of the wing parts on the drawing as I completed them:
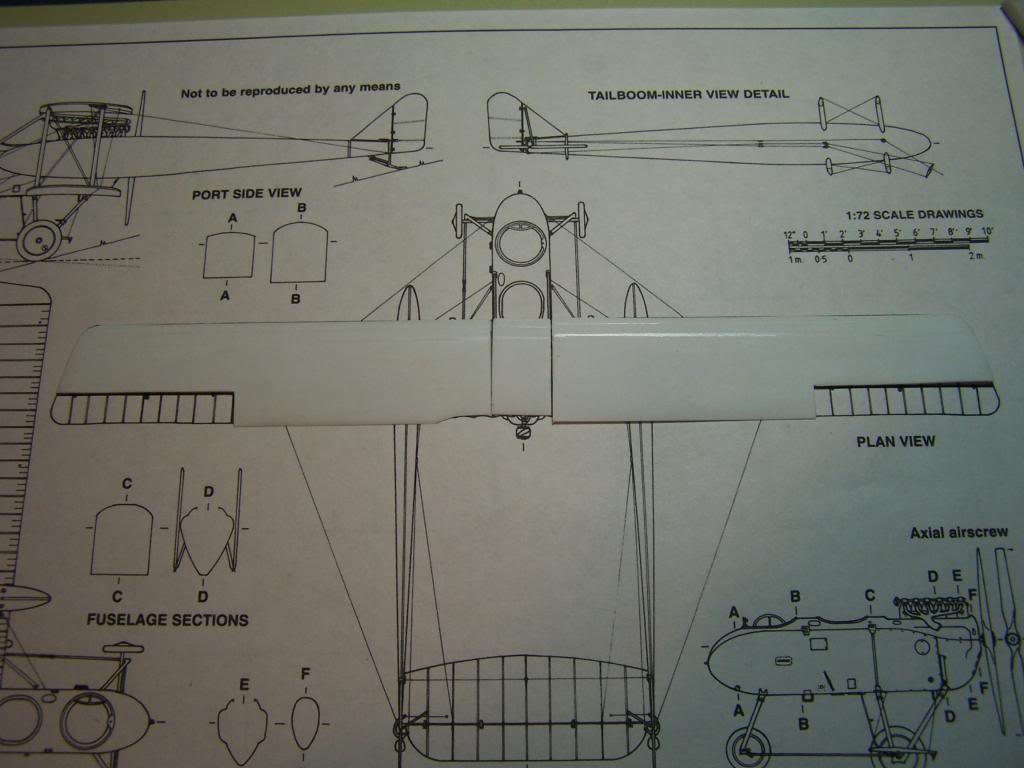

You may note in the above picture, one of the ailerons temporarily in place. The shape is of interest since the inner section of forms were inverted causing the droop in the trailing edge. A detail I had never heard of until this project. There are a few other pictures later that will show this better.
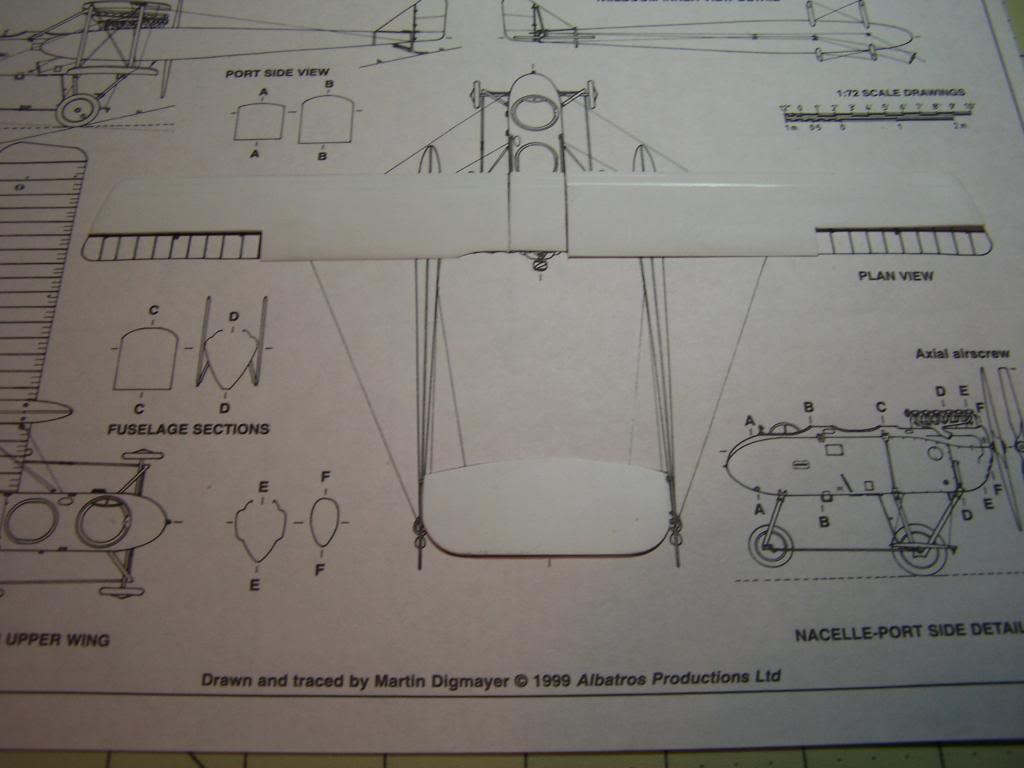
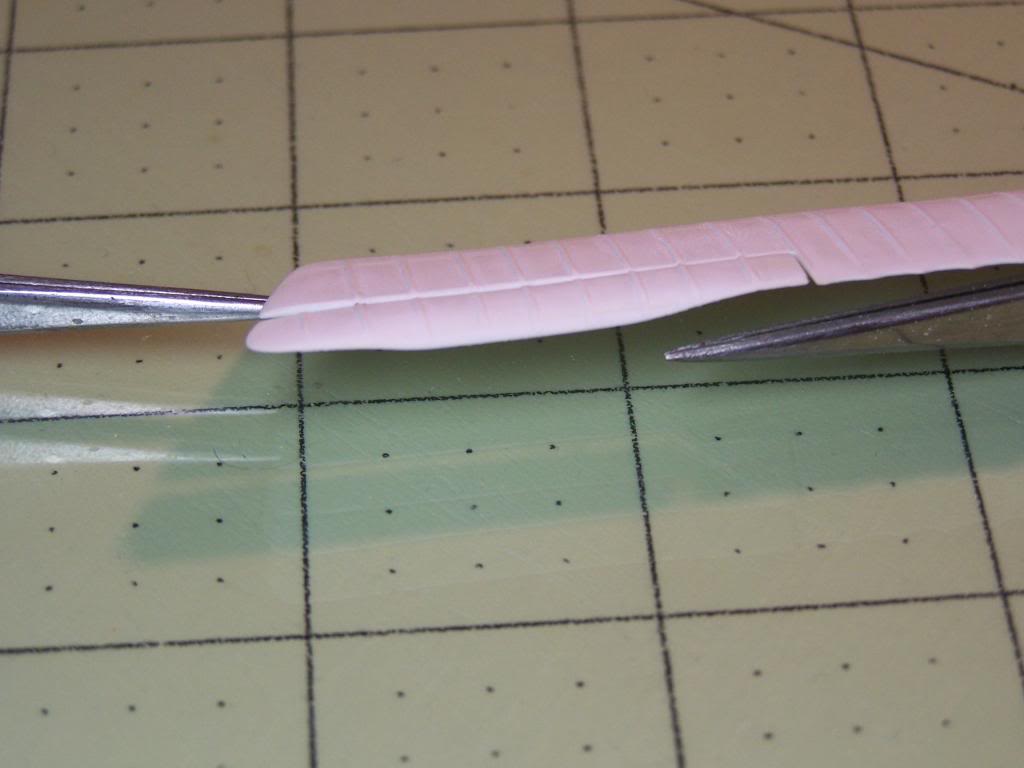
The horizontal stablizer was also cut at some point during the wing fabrication process as shown here:
Now for the rib process.
I use a chemical called MEK, or Methyl Ethyl Ketone, as my 'glue' of choice while working with styrene. It is a cleaning solvent that can be purchased in 1 gallon cans here in the states. It is also the active ingredient in most liquid glues for ABS plastics. I bought a gallon about 10 years ago and I doubt I will have to replace it.
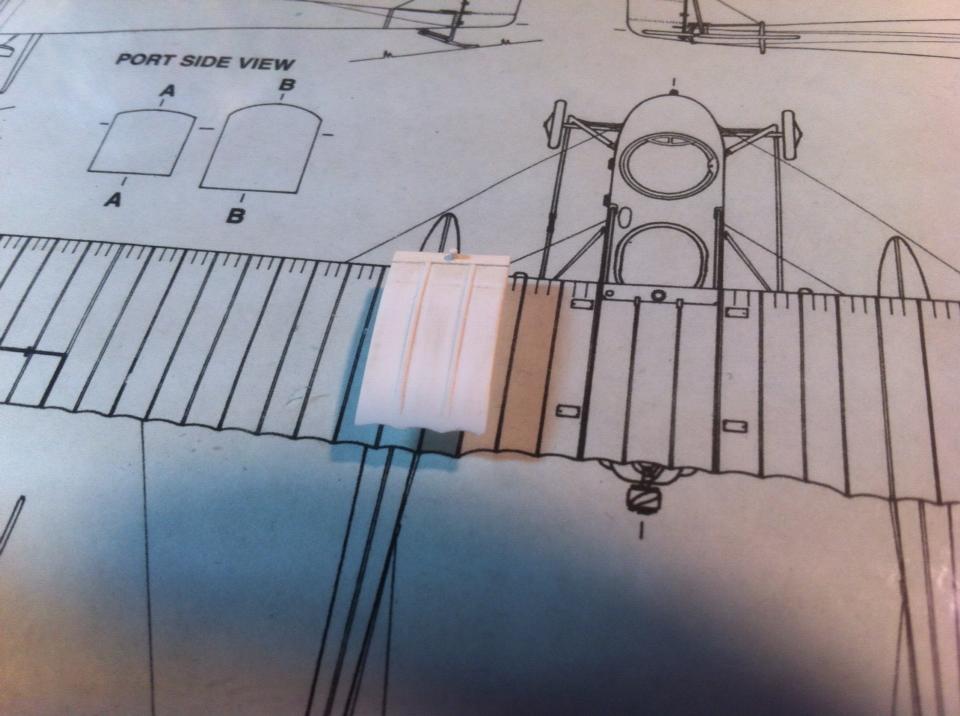
I fill a glass jar that was once for thinner and keep it on my bench. when in use, I use a clean brush that I do not use for painting to apply the MEK where I want to glue pieces together. In the following picture, I have the wing that I am working with laying on the drawing as a guide, a strip of 0.010" x 0.020" styrene held across the location it is to be added, and with keeping my fingers away from the joint area, apply the MEK.
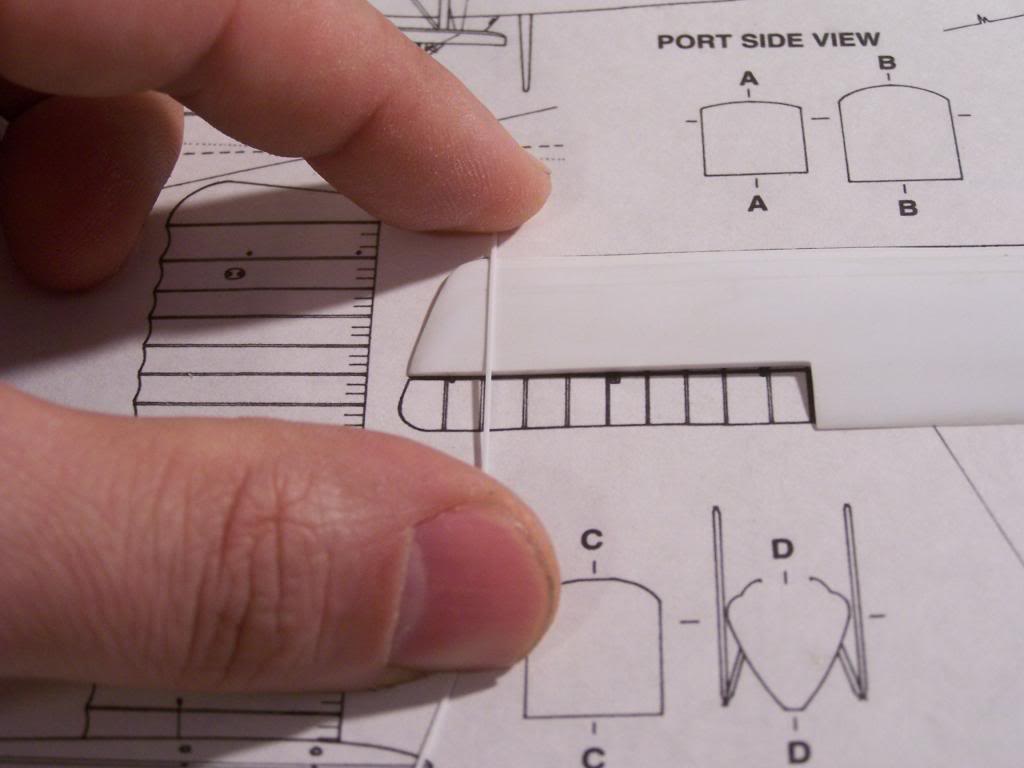
The joint is already made in this shot, but I took this to demonstrate where I place the brush while holding the strip in place. The MEK will wick quickly between the two parts attacking and welding the pieces together.

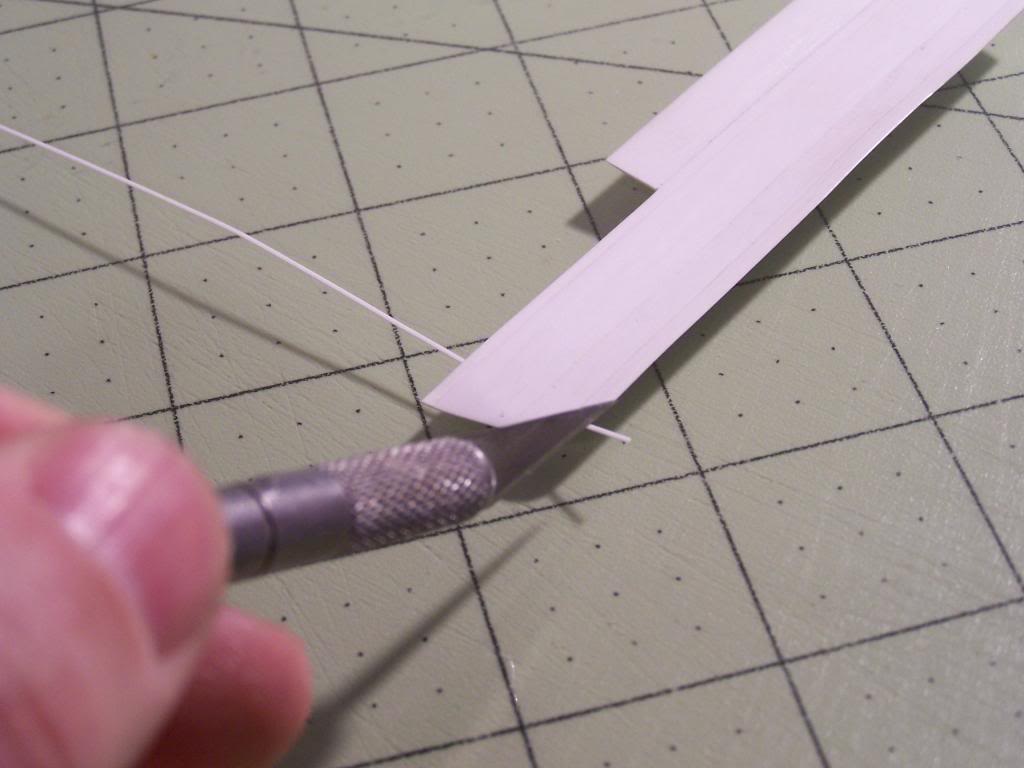
Flipping the assembly over on a glass surface and trimming off the excess is all that is left in applying the rib.
Repeating the process for each rib location only takes a little while. In a matter of minutes, I had these done.
Now, the ribs look a bit blocky and too pronounced at this stage, but they will be sanded to shape once all of the ribs are added.
You may note the aileron is mounted to the wing in three locations using 0.015" diameter brass wire. These wing edges are the thinnest I have ever had to drill holes into but I was able to do it at the rib locations since the ribs actually helped. A tip I figured out the hard way, drill after ribs.
The same was done for the horizontal stablizer:

A closer look at the aileron:
The top center wing section:
A mirror image of the aileron for the other wing:
The top wing parts:
In my next update, we'll cover the tail parts and the beginning of the fabrication of the booms.
Thanks for looking!
John

