VALOM 1:144 SCALE SOPWITH PUP DUAL COMBOFROM VALOM MODELS - CZECH REPUBLICFirst look review by Des DelatorreContents : Injection plastic parts; PE; Decals; Instructions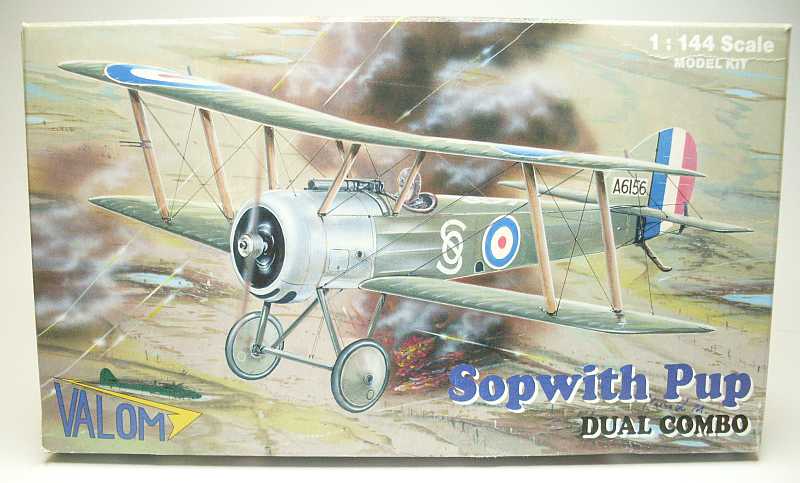
This is the newly released injection moulded kit by Valom. It comes as a dual combo kit so two kits of the same plane are included in the box. The box contains two sprues of injection moulded plasic parts for the two aircraft , two frets of PE parts one for each plane, a sheet of decals and the instruction sheet.
The decal sheet has enough items for four marking options which are as follows;
B1777 ''Chin Chow'' 46 Sqn. Lt. A. S. Lee, July - August 1917
A6154 54 Sqn. Lt. O. Stewart, April - May 1917
N6453 HMS Furious, S/CDR. H. Dunning, August 1917
JAAS (Japan), Type 3 Lt. Kwaida, May 1921

The instructions are printed on a single white sheet of paper, it is printed on both sides of the sheet in easy to follow clearly defined steps. A parts list is included and also a painting guide.

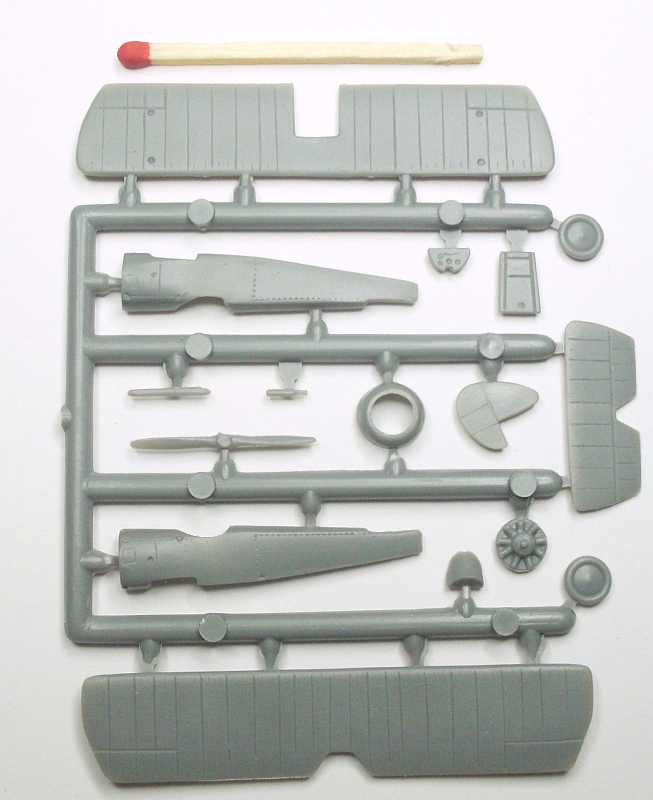
The two sprues of injection moulded plastic parts are well moulded with clean crisp parts, no flash or ejector pin marks exist. Some detailing on the fuselage sides incude the forward access panels, rear fuselage fabric stitching, foot step, there are no moulded details on the inside of the fuselage. The wings and tail section have the ribs defined as recessed lines, elevator, rudder and ailerons are also depicted. The engine is moulded with the firewall as one piece and shows the nine cylinders and crank case, the engine cowl is well moulded. A cockpit floor, seat and instrument panel are also included along with the two wheels and propeller. The plastic is a mid gray colour and is very easy to work.


The decals appear to be very good, the backing paper is quite thick. There is very little decal carrier film exposed beyond the actual decal so this will assist in elimanating silvering around the edges of the decals. Each decal item is clearly numbered to match the decal placement guide on the back of the box. Two PE frets are supplied, one for each plane, These sets contain the struts, undercarriage struts, control column and the tail skid.


Construction started with the inside of the fuselage halves. I used the kit floor and seat, also the instrument panel. I drilled four 0.5mm holes in the panel and fitted lengths of 0.5mm brass tube which had been drilled out to 0.4mm, these now act as the instruments in the panel. I made a new control column, the PE column is fine but it looked a bit flat, I used 0.3mm brass tube with 0.07mm wire bent to represent the handle. I also glued lentghs of 0.3mm copper wire to the sides of the fuselage to simulate the frames, 0.07mm wire was used as the bracing wires. 0.05mm human hair was used for the rudder control cables.


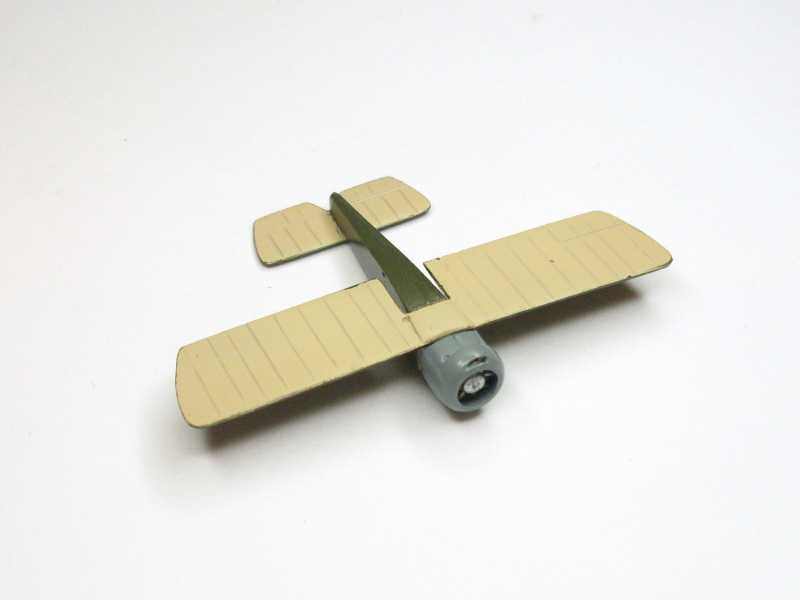
The fuselage halves were glued together, there are no locating pins so care was needed to make sure that it aligned correctly. I glued a length of 0.3mm lead wire to act as the cockpit padding. The bottom of the wings have been painted as has the engine and firewall. I used Gunze H423 Dark Green for the fuselage and fin.


The bottom wing and tail plane fitted very well, there are no locating pins or tabs but they are not necessary for the fitment of these parts, once the glue had set they were quite solid.

The decals supplied with this kit are brilliant, though very small very adhered to the suface perfectly. I coated the surface with Humbrol N0.35 full gloss varnish and allowed it to dry for a full 24 hours. Before applying the decals I paint the suface where the decals were going with Mr. Mark Softer, the decals came free of the backing paper after ten seconds in warm water and slid easily from the paper onto the surface, the were easy to move into position and conformed nicely to any shape. I patted them dry with paper towel then applied heat from a hair dryer.
The undercarriage fitted very well and is quite strong. The wheels were glued to the assembly using CA (super glue). The propeller was fixed the the engine also using CA.
I also used a length of 0.5mm brass tube to simulate the engine intake pipes and two short lengths of 0.3mm brass tube for the two fuel tank filler caps.


The top wing was quite easy to fit but care has to be taken with the four wing interplane struts, the rear struts are slightly longer and must be fitted to the rear of the wing. Once fitted into their locating holes a small drop of CA holds the top wing very firm, the outward splayed cabane struts adds a lot of rigidity to the assembly. My eyes do not allow me to add rigging to this model, the rigging material would have to be 0.04mm to be in scale which is way too small for me to handle. The entire model has been sprayed with a satin clear coat.
Note: Rigging has now been added, see below. (added 15/06/13)


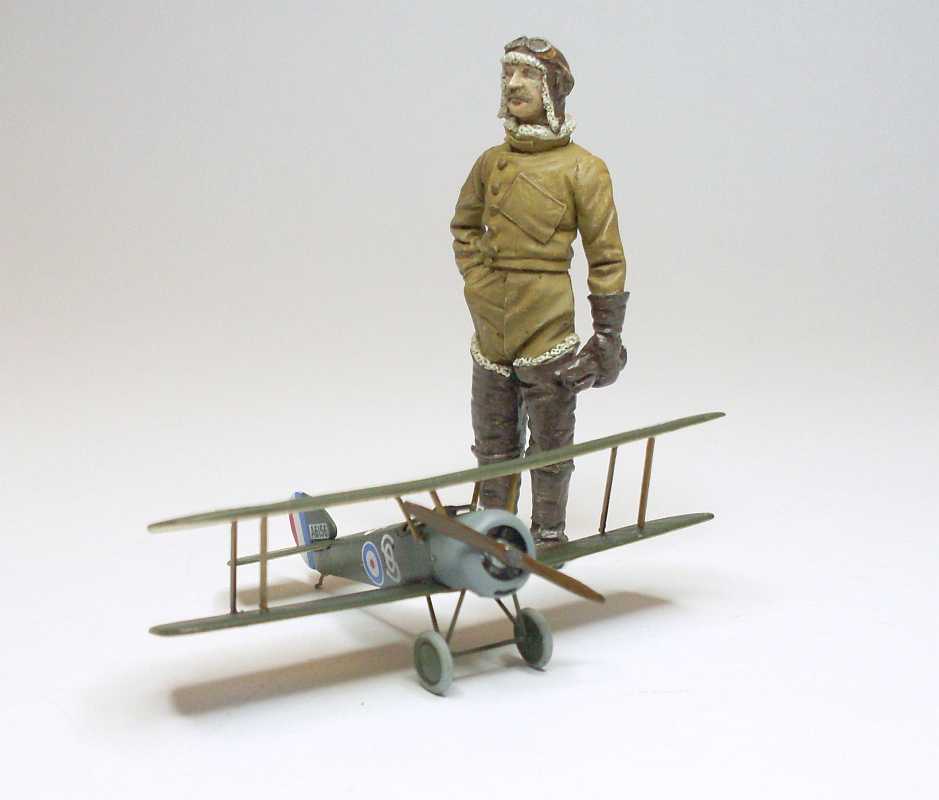
To give a general idea of the small size of this model here it is sitting beside a 1:32 scale pilot figure, the same model sitting next to a 1:32 scale Sopwith Pup.


I decided to add rigging to this model, I used 0.07mm plated copper wire. I cut each wire to the exact length to fit the required position, then I used CA to hold the wire in position. I did not add rigging to the cabane struts as there is very limited space, this rigging could be added before the top wing is mounted. I als added the rigging to the undercarriage using the same method. The rigging finishes the model off nicely.


 POSITIVES
Very well moulded with nice detail, no flash or pin marks, the PE is easy to work with and the struts are pretty much to scale.
PRICEPrice varies, this kit can be purchased for as low as $10 up to $20 depending on the distributor.
STOCKISTMost of the major hobby supply shops have this kit, but bear in mind it is a limited run kit.
CONCLUSIONThis kit is intended mainly for the war gaming enthusiast and would suit their needs perfectly. It has a very good scale appearance, is quite easy to assemble and comes with a variety of markings. The fact that there are two complete kits in the one box is a real bonus, this set would be a great start for anyone wanting to start building a squadron of these aircraft, and not being overly expensive makes it a relatively inexpensive step into small scale modeling. Rigging would finish this model off nicely so for those who have the dexterity it would be a great little model.
HIGHLY RECOMMENDEDThanks to Valom Models for providing the review sample

